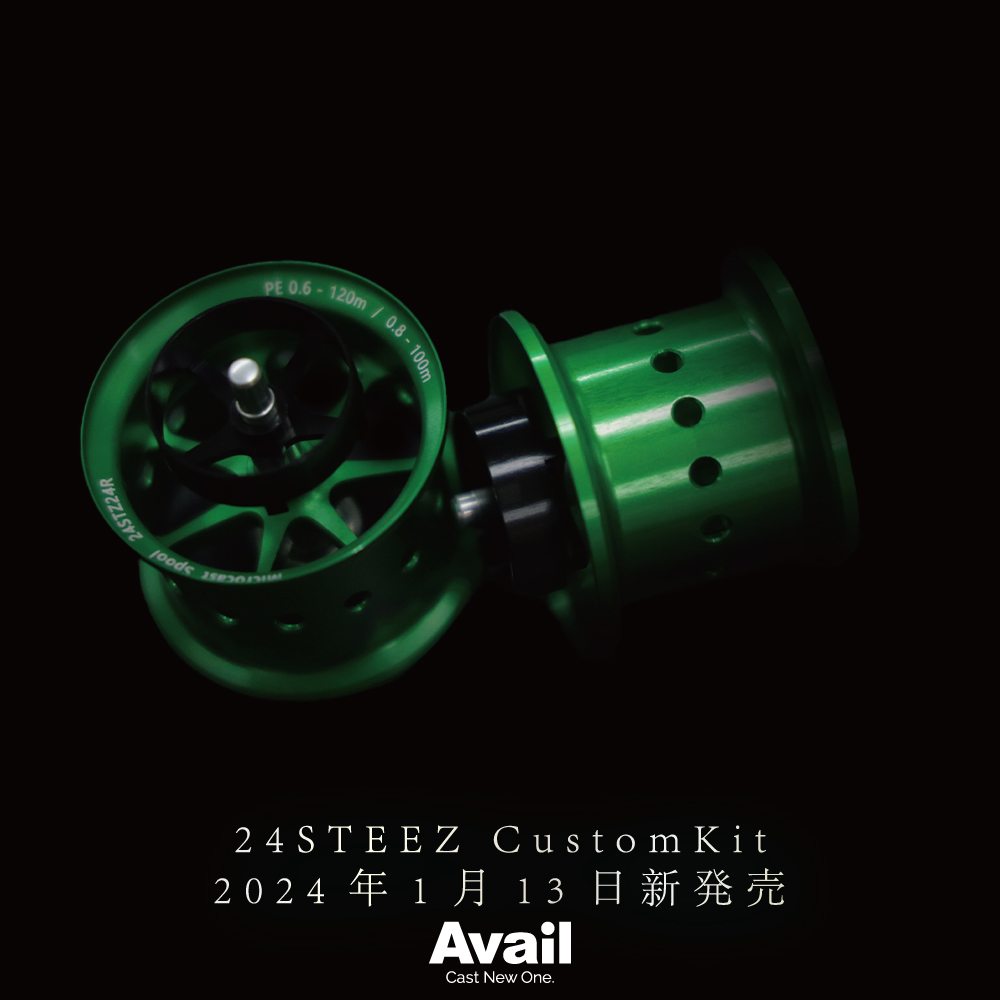
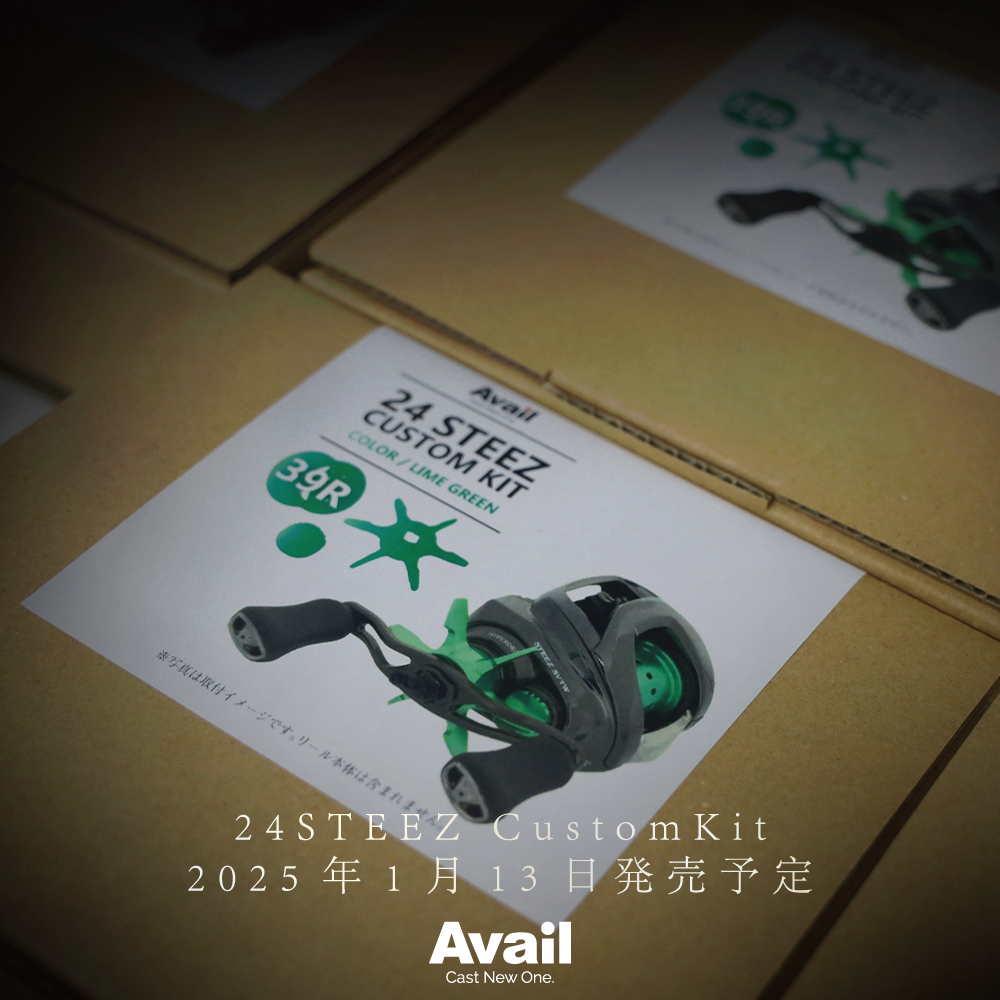
[Avail] DAIWA 24 STEEZ SV TW 100 Custom Kit (Spool, Star Drag, Oil Injection Cap 3-Piece Set) [3set_24STZ24R, 3set_24STZ39R]
Our Selling Price: US$143.22 [Regular Price: US$204.60]
| Product Description
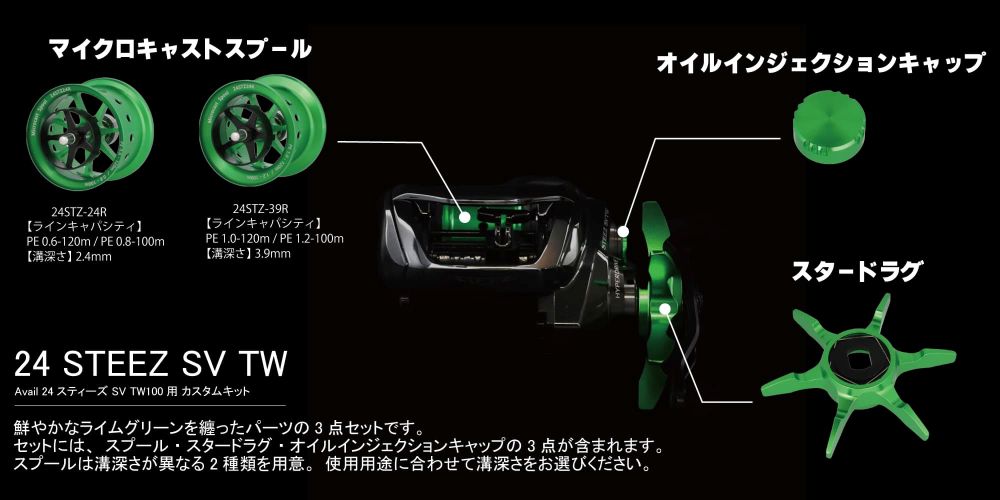
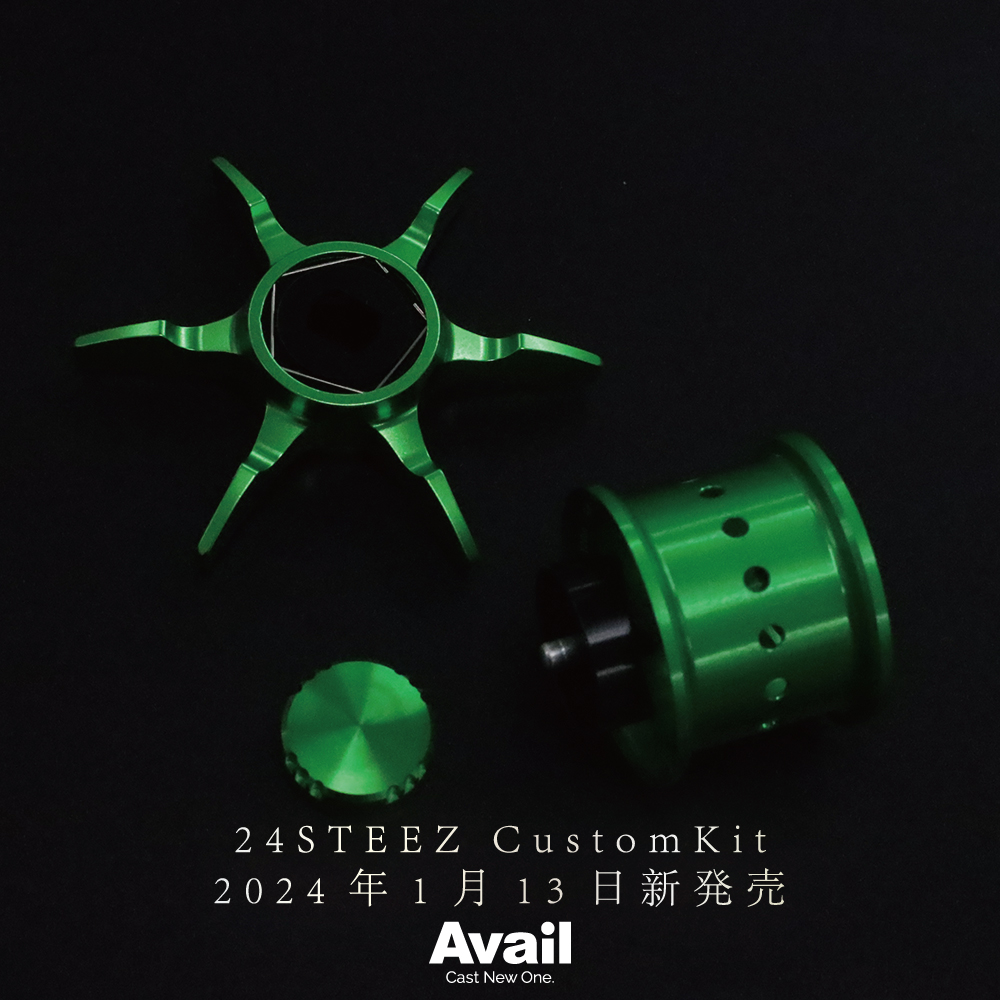
This is a 3-piece set of color-anodized dress-up parts compatible with the DAIWA 24 STEEZ SV TW 100.
The color option available is a vibrant lime green.
Dress up your reel with this stylish kit.
| Set Contents
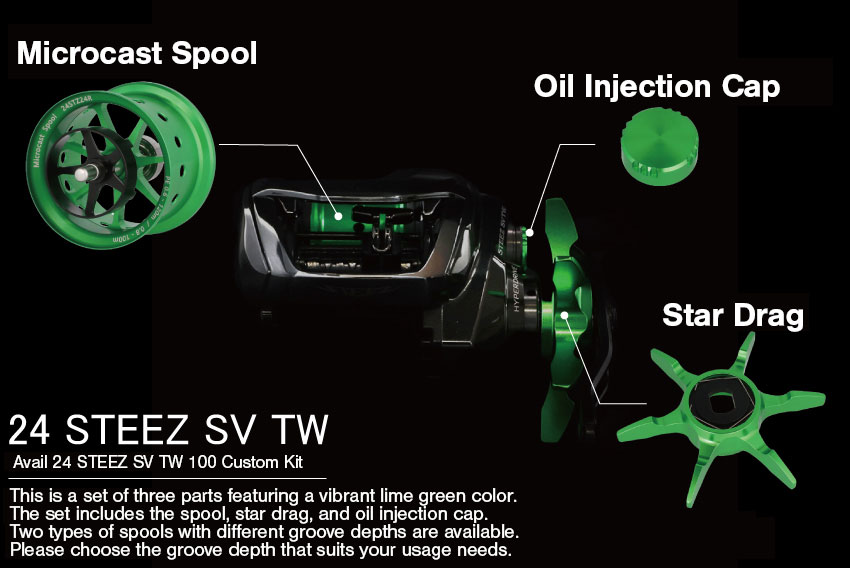
*The reel itself is not included.
| Dimensions
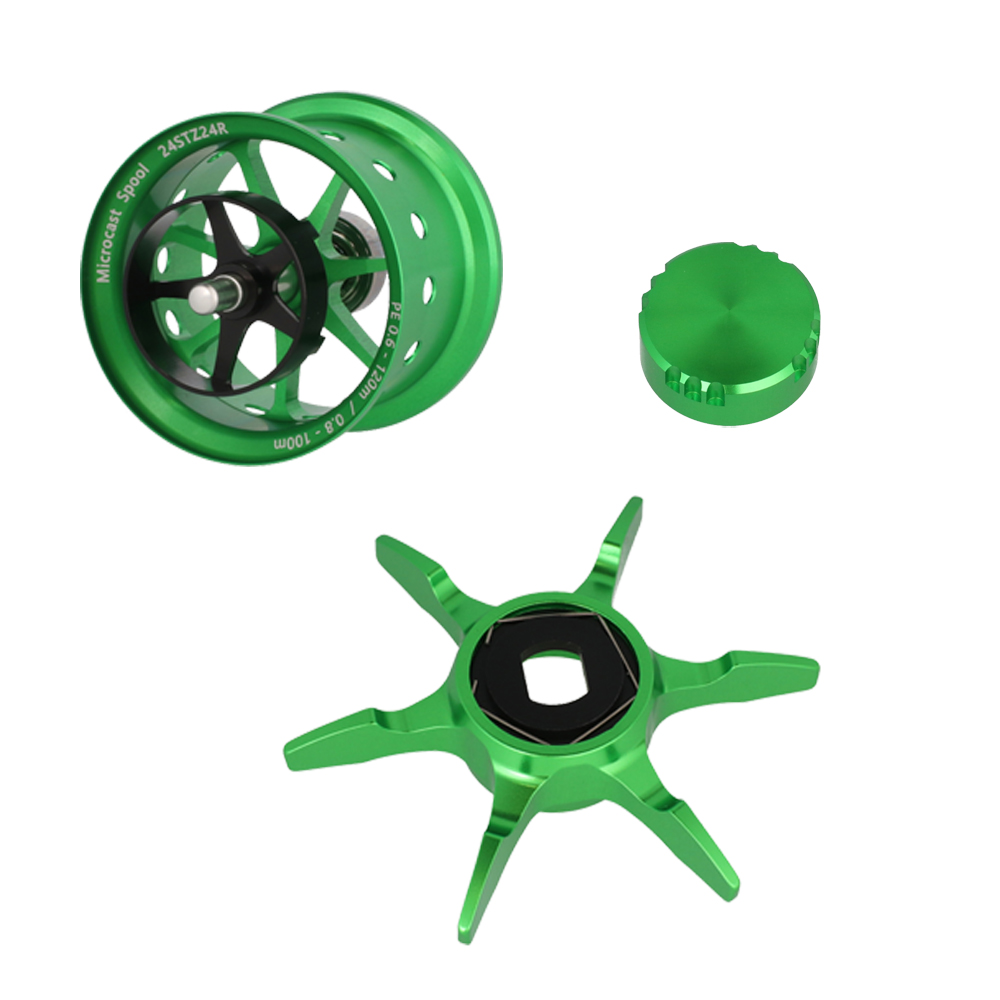
24 STEEZ Custom Kit 24STZ24R
Spool Groove Depth: 2.4mm
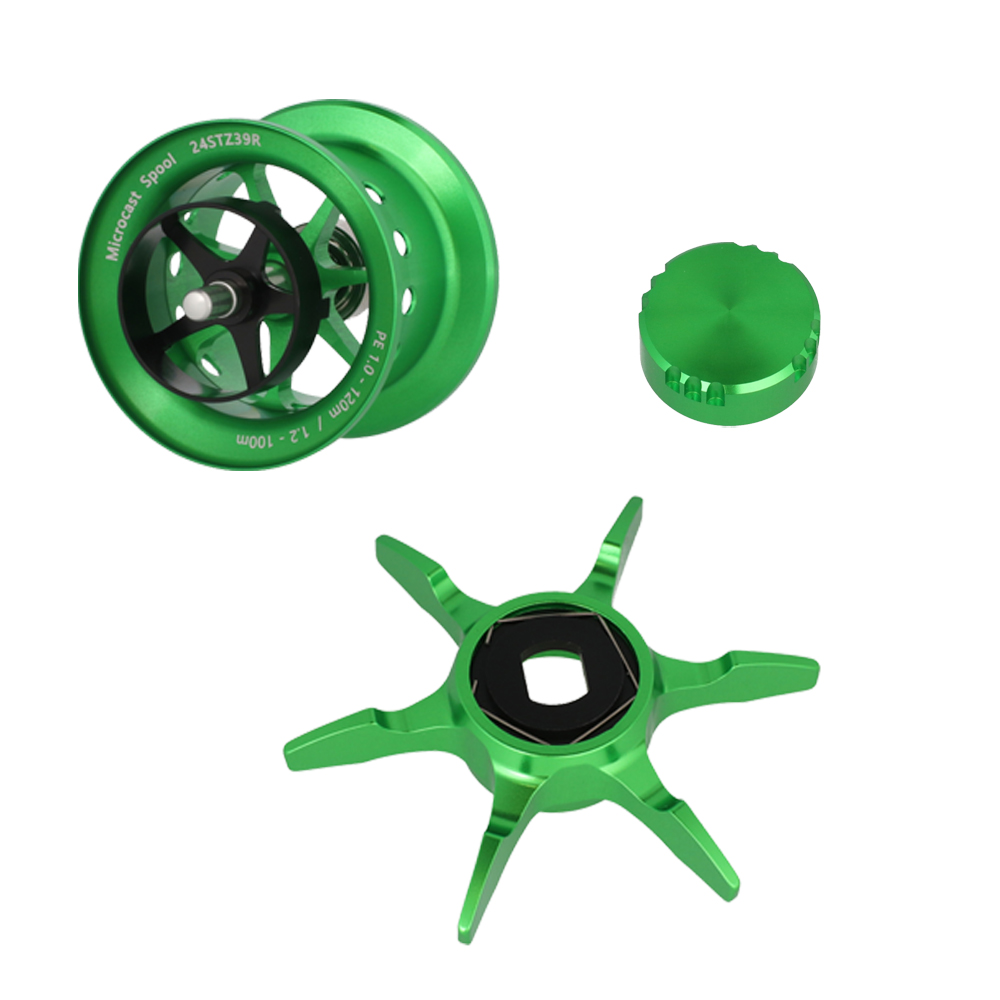
24 STEEZ Custom Kit 24STZ39R
Spool Groove Depth: 3.9mm
| Color
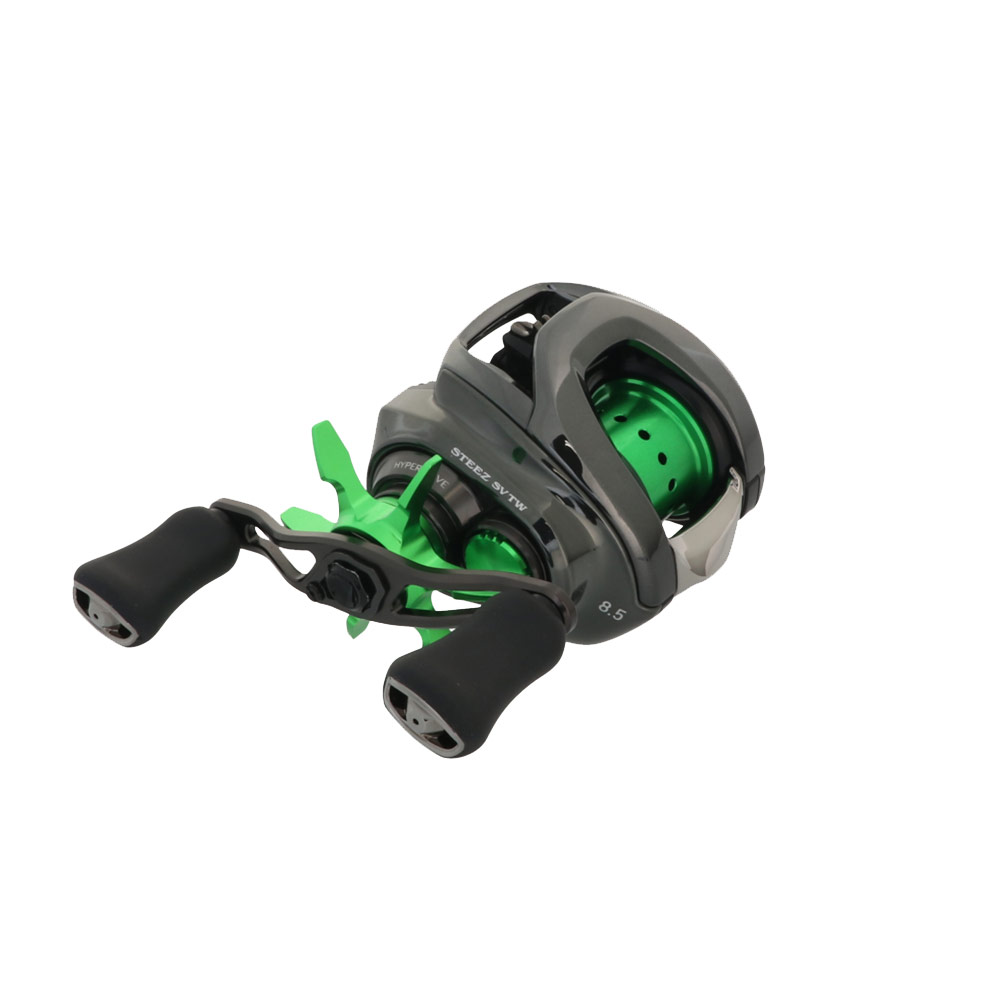
Available color: “Lime Green”
| Specifications
| Material | |
| Spool Unit Material | Extra-super duralumin |
| Spool Shaft Material | Extra-super duralumin |
| Star Drag Unit Material | Aluminum Alloy |
| Oil Injection Cap Material | Aluminum Alloy |
| Bearing Size | |
| Outer Diameter 10mm × Inner Diameter 3mm × Thickness 4mm | |
| Weight | |
| 24STZ-24R | 7.0g (Genuine: 11.0g) |
| 24STZ-39R | 7.2g (Genuine: 11.0g) |
| Star Drag | 9.1g (Genuine: 9.1g) |
| Oil Injection Cap | 1.2g (Genuine: 1.3g) |
| Line Capacity | |
| Genuine Spool (Groove Depth: 5.5mm) | Nylon 12-40 to 80m / PE 1.5-120m |
| 24STZ-24R (Groove Depth: 2.4mm) | PE 0.6-120m / PE 0.8-100m |
| 24STZ-39R (Groove Depth: 3.9mm) | PE 1.0-120m / PE 1.2-100m |
| Compatible Models | |
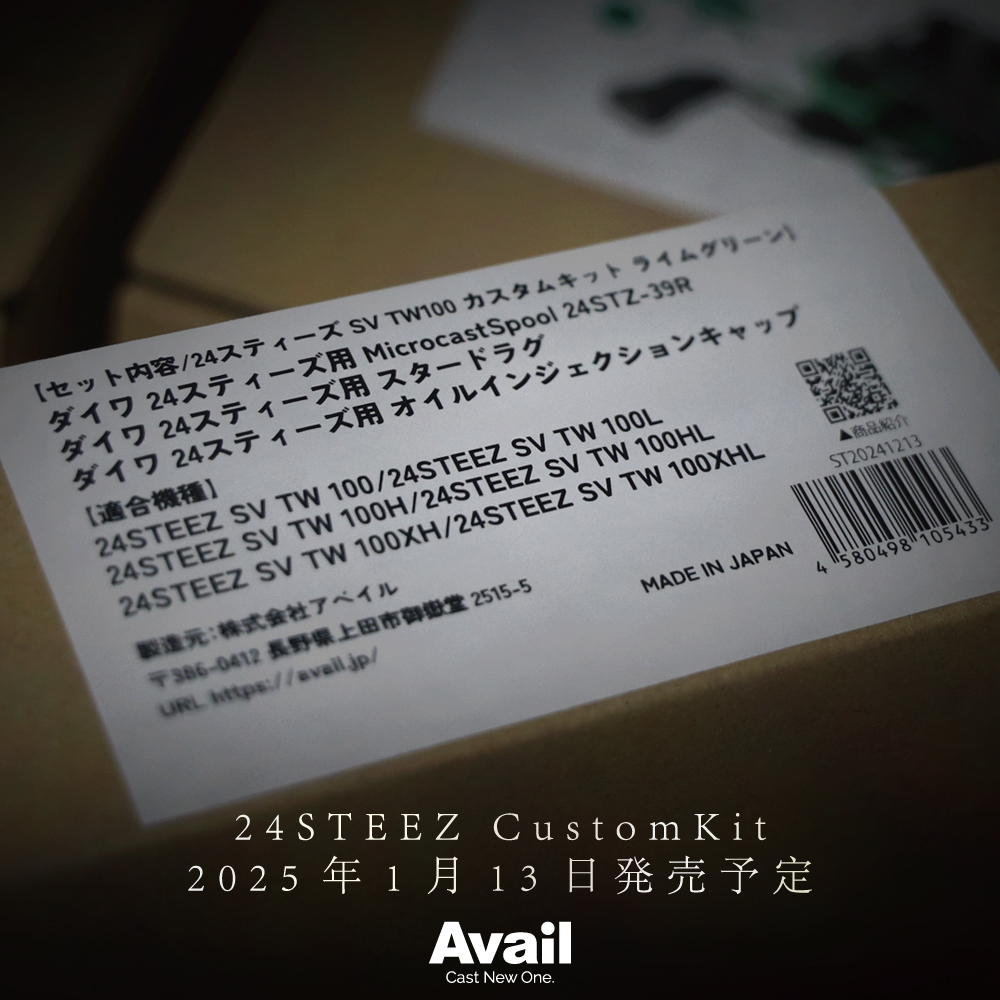
| 24 STEEZ SV TW 100 | |
| 24 STEEZ SV TW 100L | |
| 24 STEEZ SV TW 100H | |
| 24 STEEZ SV TW 100HL | |
| 24 STEEZ SV TW 100XH | |
| 24 STEEZ SV TW 100XHL | |
*Line capacity was measured using Yamatoyo Tegusu Co., Ltd.’s line.
*The manufacturer’s indicated line capacity represents the maximum recommended spool fill.
| Installation Guide
Required Tools
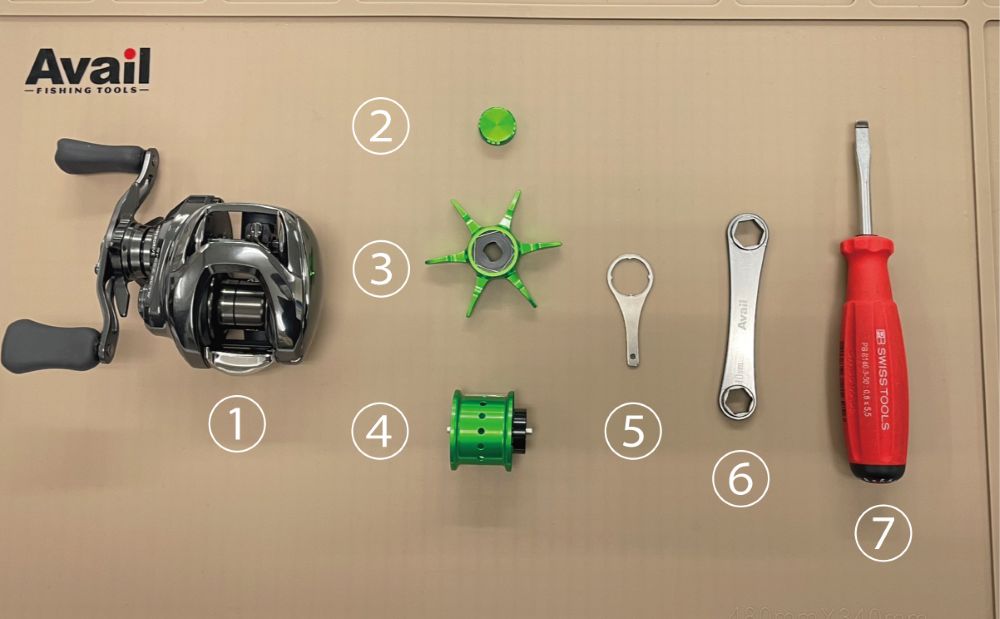
1. Reel body
2. Oil Injection Cap
3. Star Drag
4. 24STZ-24R or 24STZ-39R
5. Included Genuine screwdriver
6. Original offset wrench: WRENCH-OF or WRENCH-OF-S
7. Flathead screwdriver #3
Before starting the replacement process, set the drag to a low setting (loosened state).

(1) Use a #3 flathead screwdriver to remove the “Handle Screw”.
(2) Remove the “Handle Plate” and use the offset wrench to remove the “Handle Nut”.
(3) After loosening the “Handle Nut” with the wrench, remove it by hand.

(4) Remove the “Handle Collar”.
Creating a gap using a flathead screwdriver makes it easier to remove.
(5) Remove the “Star Drag”.
(6) Remove the “Spring”.

(7) Align parts A and B on the “Nut” as shown in image (8).
(Aligning A and B makes Star Drag installation easier.)

(9) *The 24 STEEZ TW features a Zero Adjuster-less design.
As a result, the included Genuine “Screwdriver” must be used to remove the “Oil Injection Cap”.
(10) Align the grooves of the “Oil Injection Cap” with the screwdriver and loosen it.
The “Oil Injection Cap” tightens clockwise and loosens counterclockwise.
(11) Once loosened, remove it by hand.

(12) The “Oil Injection Cap” has been successfully removed.
(13) Replace it with a new “Oil Injection Cap”.
(14) Tighten it by hand. The “Oil Injection Cap” tightens clockwise and loosens counterclockwise.

(15) Finally, tighten the “Oil Injection Cap” lightly using the screwdriver.
*The 24 STEEZ TW features a Zero Adjuster-less design.
(16) After replacing the “Oil Injection Cap”, proceed with the installation of the Star Drag.
Start by attaching the spring.

(17) The replacement Star Drag parts A and B are not aligned.
Use your thumb and middle finger to align the outer and inner edges of the drag, as shown in (18) and (19).

(20) During installation, align the Star Drag parts A and B with the Drive Shaft’s A and the Nut’s B.
(A and B must be aligned for smooth installation.)
(21) Push the drag in the direction of the arrow while ensuring parts A and B are aligned.
Proper alignment results in a snug fit between the drag and the reel body, as shown in (22).
*Forcing the drag into place may damage the parts.
If a gap remains between the drag and the reel body, revisit the previous steps to realign parts A and B.

(23) Once the Star Drag is securely installed, attach the “Handle Collar”.
(24) Attach the handle.
(25) Tighten the nut using the wrench.

(26) Attach the “Handle Plate”.
(27) Attach the “Handle Screw”.

(28) Replace the spool.
Slide the stopper lever on the back of the reel body (red circle) towards the OPEN direction, then remove the “Side Plate” as shown in (29).
(30) The “Side Plate” is now removed.

(31) Gently pull out the shaft of the “Genuine Spool”.
(32) Replace it with a new spool.
(33) Attach the “Side Plate”.

(34) Pay attention to the spool’s orientation during installation.
Forcing the “Side Plate” closed in the wrong orientation may cause damage.
*The image shows proper installation.
*The photo is of a left-hand model.
(35) The replacement of the three parts is now complete.
Finally, alternate between high and low drag settings several times to ensure proper installation.
The drag clicker produces a sound during adjustment.
Please confirm that the click sound is functioning.
*The 24 STEEZ TW features a Zero Adjuster-less design.
No position adjustment is necessary when replacing the spool.
| Notes
* Start the brake settings at the maximum position during casting.
* The Microcast Spool has been designed with thin walls to reduce weight to the necessary strength limit.
Due to the shallow groove design and larger internal cavity, the operational sound of the reel may resonate inside the spool and sound louder.
This does not affect fishing performance, so please use it with confidence.
* Using the spool rim for thumbing may cause the anodized coating to peel off due to friction.
Perform thumbing on the line-winding surface of the spool.
Excessive tension when spooling line may cause damage.
When using stretchy lines like nylon, please apply less tension during spooling.
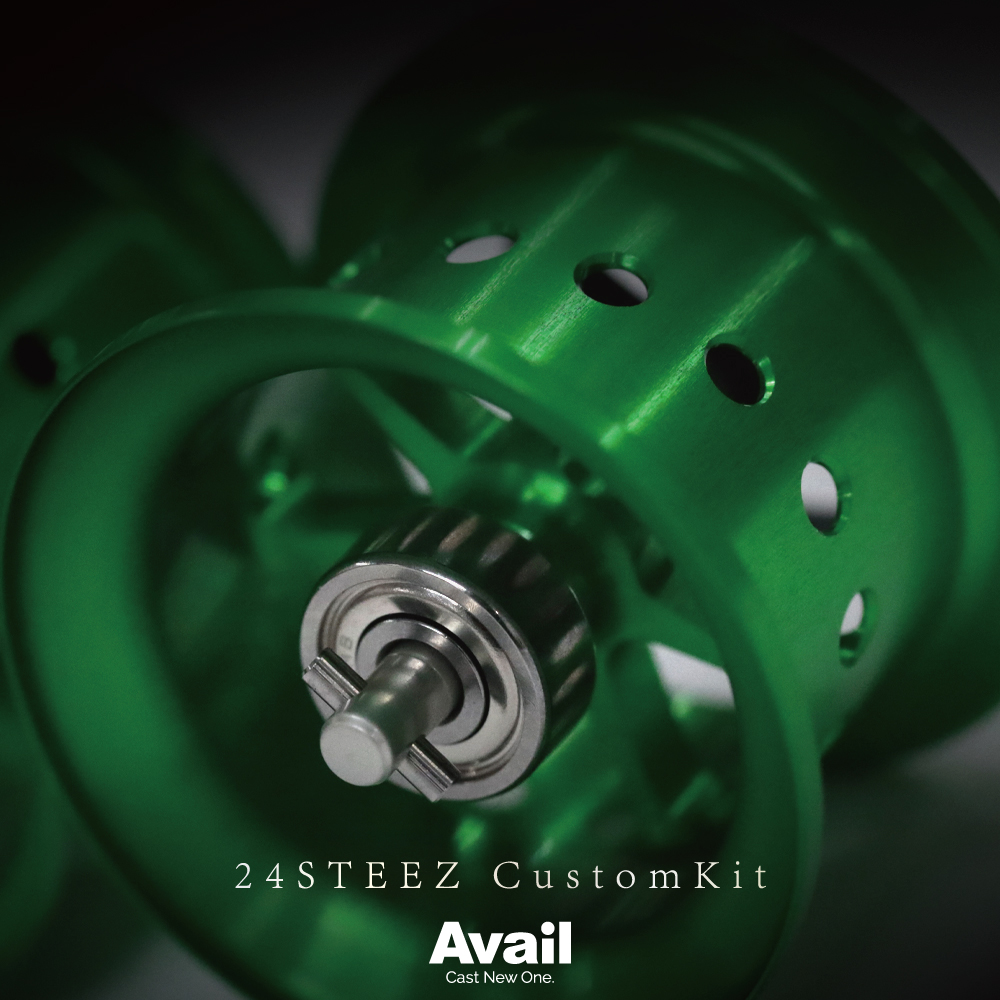
* Anti-rust grease is applied to the bearings at the time of shipment to maintain quality.
If the spool rotation feels heavy, degrease and clean the bearings and apply your preferred oil before use.
* When replacing bearings, ensure the correct bearing size.
* Be cautious of damage to the shaft or drive pin during bearing replacement, and perform it at your own risk.
| Gallery





 Baitcasting Reel


![Photo1: [Avail] DAIWA 24 STEEZ SV TW 100 Custom Kit (Spool, Star Drag, Oil Injection Cap 3-Piece Set) [3set_24STZ24R, 3set_24STZ39R]](https://www.hedgehog-studio.co.jp/data/hedgehog-studio/_/70726f647563742f32303235303131355f6336353163662e6a70670033303000534f4c44204f555400660066.jpg)
![Photo2: [Avail] DAIWA 24 STEEZ SV TW 100 Custom Kit (Spool, Star Drag, Oil Injection Cap 3-Piece Set) [3set_24STZ24R, 3set_24STZ39R]](https://www.hedgehog-studio.co.jp/data/hedgehog-studio/_/70726f647563742f32303235303131355f3866383239642e6a70670033303000534f4c44204f555400660066.jpg)
![Photo3: [Avail] DAIWA 24 STEEZ SV TW 100 Custom Kit (Spool, Star Drag, Oil Injection Cap 3-Piece Set) [3set_24STZ24R, 3set_24STZ39R]](https://www.hedgehog-studio.co.jp/data/hedgehog-studio/_/70726f647563742f32303235303131355f3839386239652e6a70670033303000534f4c44204f555400660066.jpg)
![Photo4: [Avail] DAIWA 24 STEEZ SV TW 100 Custom Kit (Spool, Star Drag, Oil Injection Cap 3-Piece Set) [3set_24STZ24R, 3set_24STZ39R]](https://www.hedgehog-studio.co.jp/data/hedgehog-studio/_/70726f647563742f32303235303131355f3662396636362e6a70670033303000534f4c44204f555400660066.jpg)
![Photo5: [Avail] DAIWA 24 STEEZ SV TW 100 Custom Kit (Spool, Star Drag, Oil Injection Cap 3-Piece Set) [3set_24STZ24R, 3set_24STZ39R]](https://www.hedgehog-studio.co.jp/data/hedgehog-studio/_/70726f647563742f32303235303131355f3764386433342e6a70670033303000534f4c44204f555400660066.jpg)
![Photo6: [Avail] DAIWA 24 STEEZ SV TW 100 Custom Kit (Spool, Star Drag, Oil Injection Cap 3-Piece Set) [3set_24STZ24R, 3set_24STZ39R]](https://www.hedgehog-studio.co.jp/data/hedgehog-studio/_/70726f647563742f32303235303131355f3364353562622e6a70670033303000534f4c44204f555400660066.jpg)
![Photo7: [Avail] DAIWA 24 STEEZ SV TW 100 Custom Kit (Spool, Star Drag, Oil Injection Cap 3-Piece Set) [3set_24STZ24R, 3set_24STZ39R]](https://www.hedgehog-studio.co.jp/data/hedgehog-studio/_/70726f647563742f32303235303131355f6634633637612e6a70670033303000534f4c44204f555400660066.jpg)