


 Baitcasting Reel


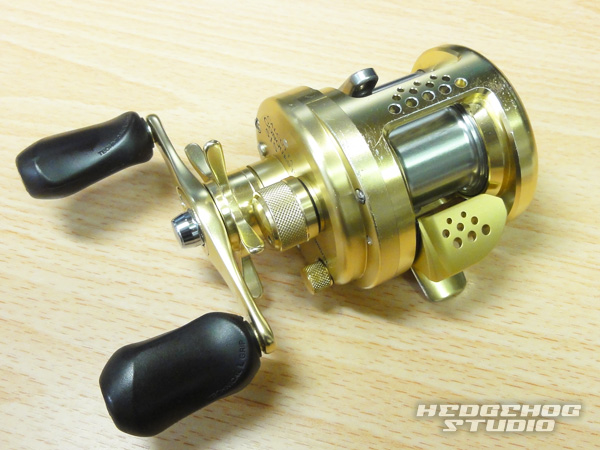
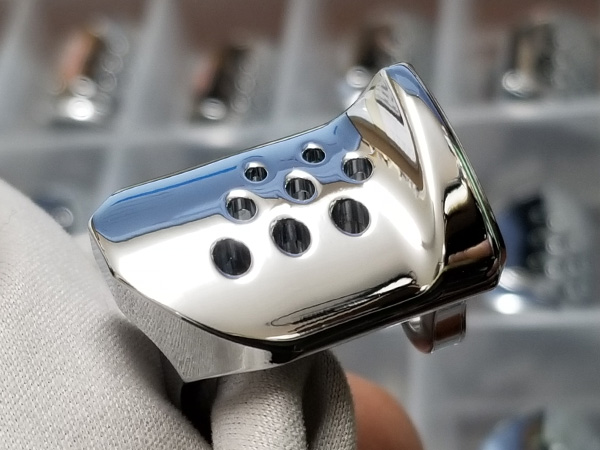
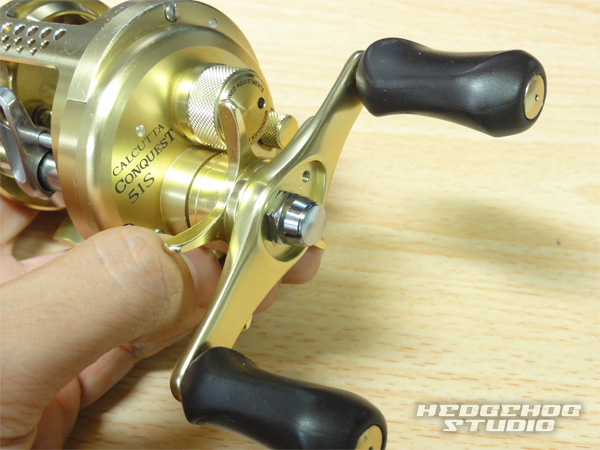
[KAKEDZUKA DESIGN WORKS] SHIMANO Duralumin Clutch Lever(Bar) CL-CNQ50 for '01 CALCUTTA CONQUEST 50/51, 100/101, 200/201, 400/401 (KDW-005)
![Photo1: [KAKEDZUKA DESIGN WORKS] SHIMANO Duralumin Clutch Lever(Bar) CL-CNQ50 for '01 CALCUTTA CONQUEST 50/51, 100/101, 200/201, 400/401 (KDW-005)](https://www.hedgehog-studio.co.jp/data/hedgehog-studio/product/20191128_aab282.jpg)
■ Product Description
This item is Clutch Lever for SHIMANO '01 CALCUTTA CONQUEST 50/51/100/101/200/201/400/401,
made of duralumin by machine cut.
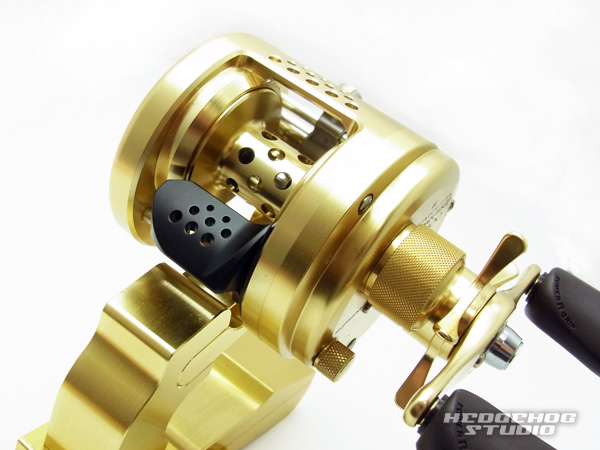
By the offset specification, making it easier to thumbing control.
Because there is for the left handle for right-hand drive, please choose an option.
Weight: about 6g
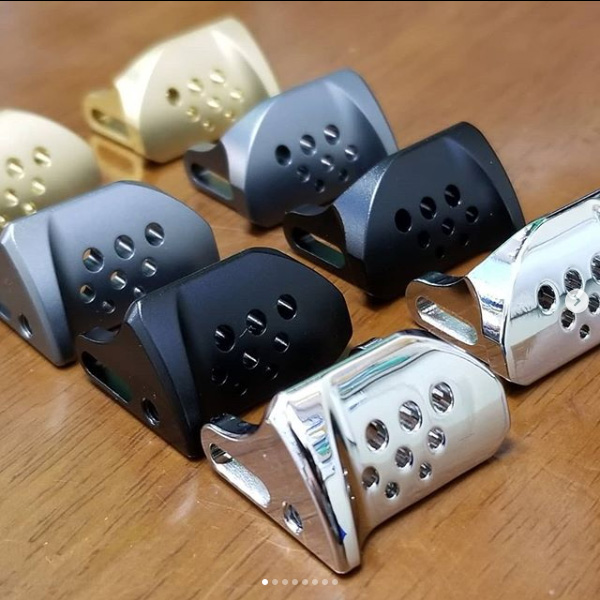
■ Color
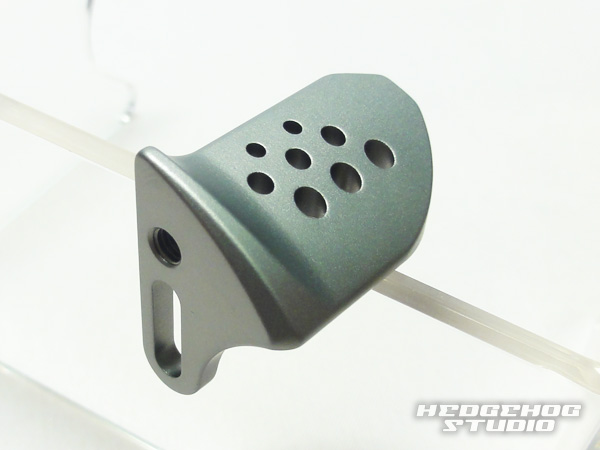
GUNMETAL
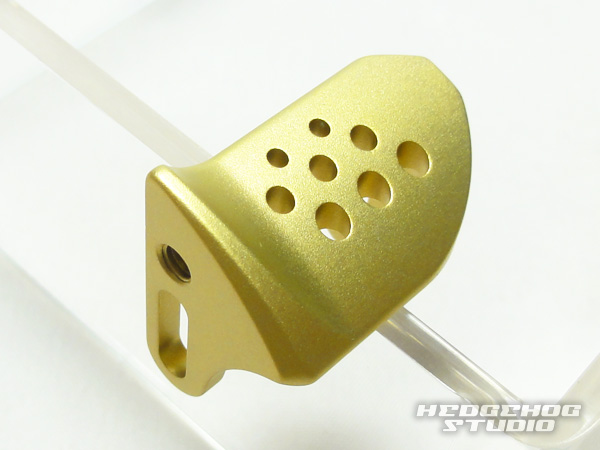
CHAMPAGNE GOLD
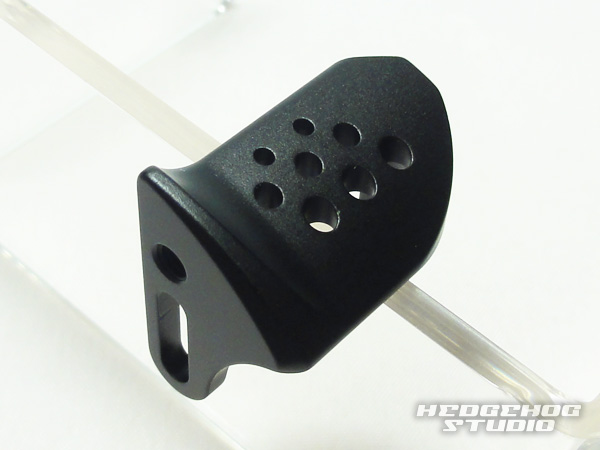
BLACK
CHROME-PLATED
Attachment
■ Compatibility
・ 01 CALCUTTA CONQUEST 50/51
・ 04 CALCUTTA CONQUEST 50S/51S
・ 00,01 CALCUTTA CONQUEST 100/101, 200/201, 300/301, 400/401
・ 03,04,09,10 CALCUTTA CONQUEST 100DC/101DC, 200DC/201DC
■Instructions
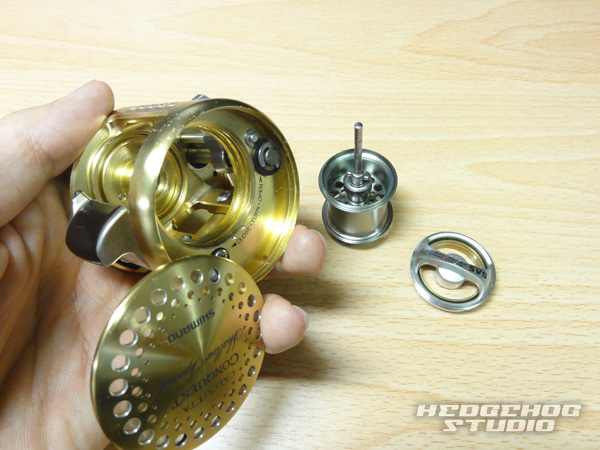
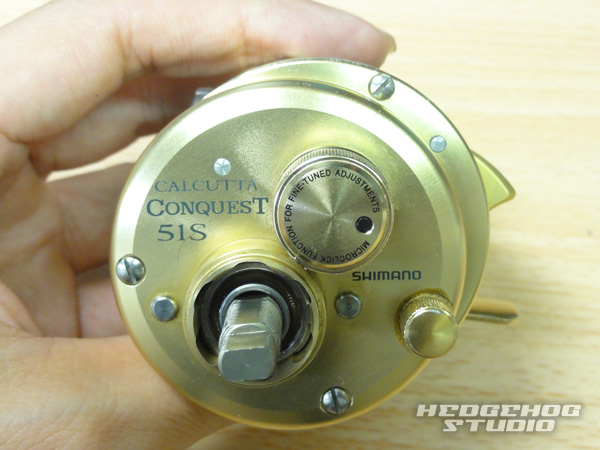
you have to remove the spool from the reel.
Remove the screws that secure the retainer.
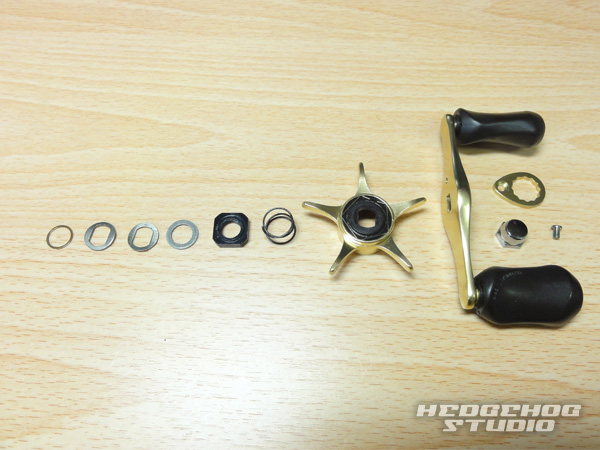
Remove the handle lock nut, and remove star drag, a washer class.
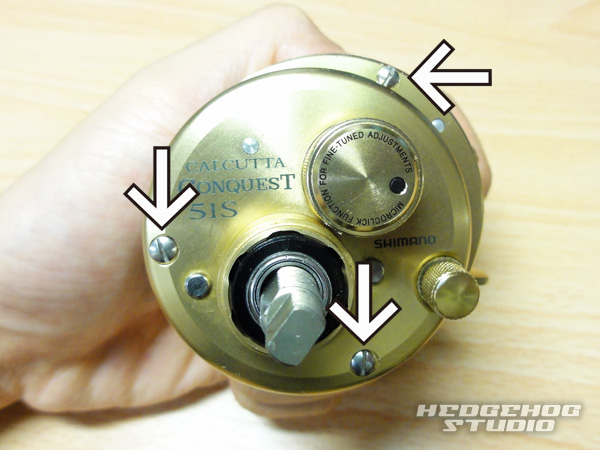
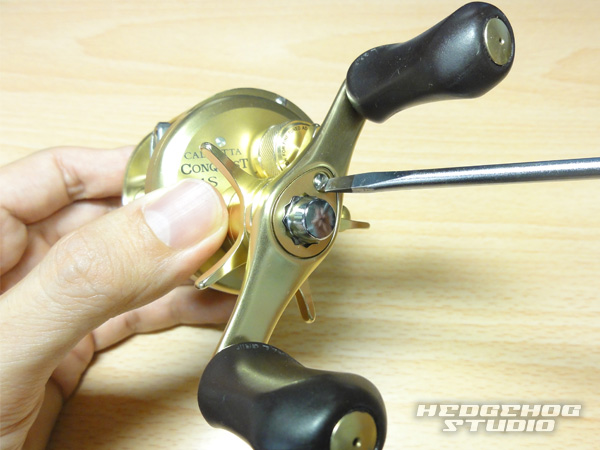
Remove the three screws that secure the side cover.
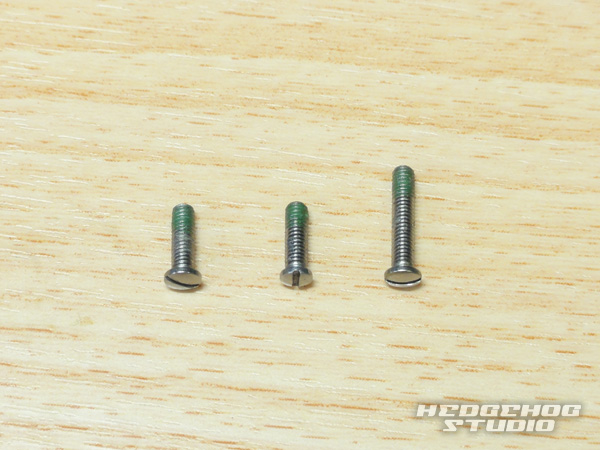
Two short screws on the front, please take care because of different kinds
one of the back is by long screws and location.
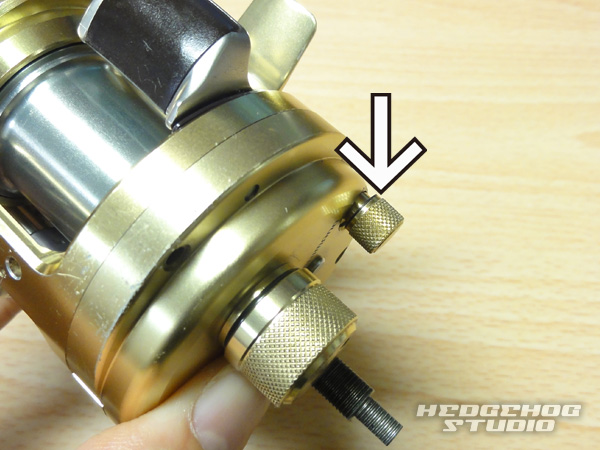
Also leave Loosen par timing plate shaft screw.

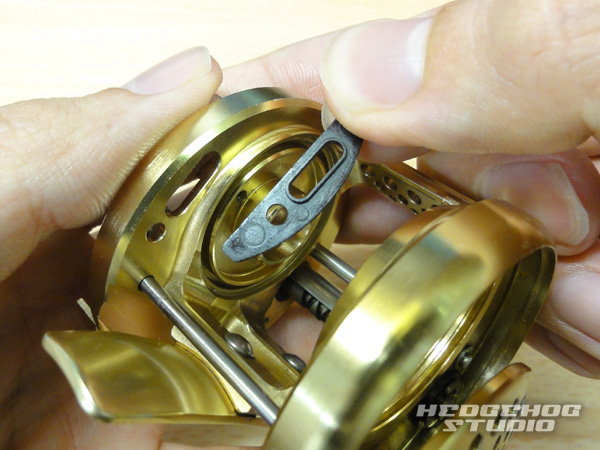
State you remove the side cover plate.
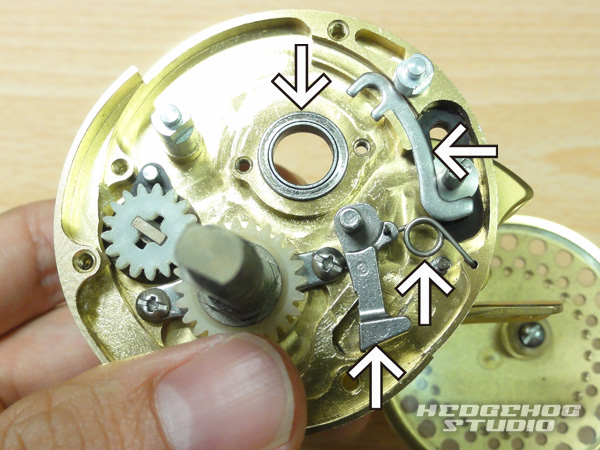
Remove the parts around the inside of the main gear and pinion gear.
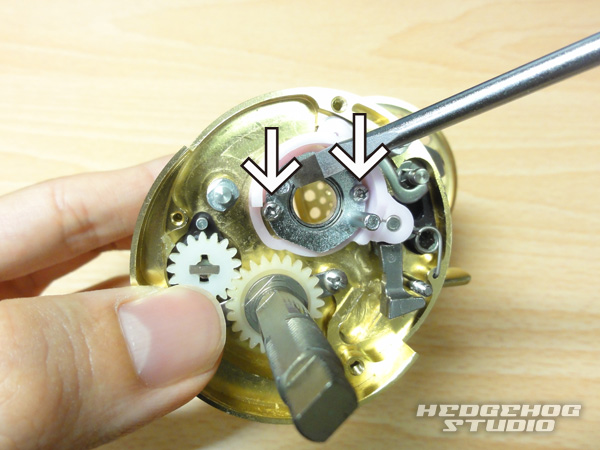
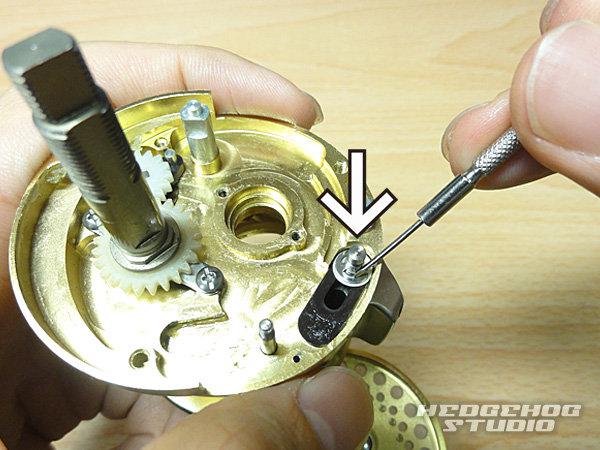
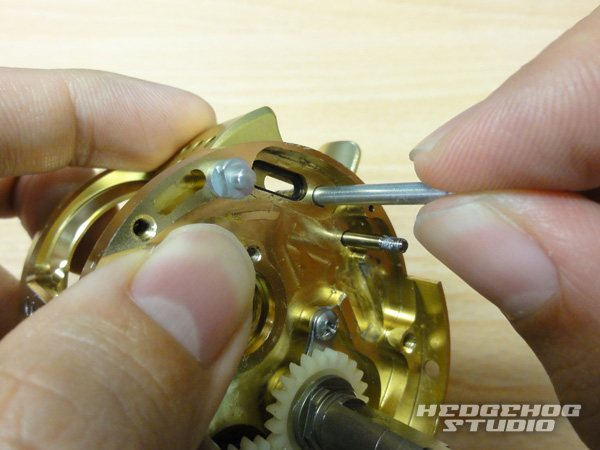
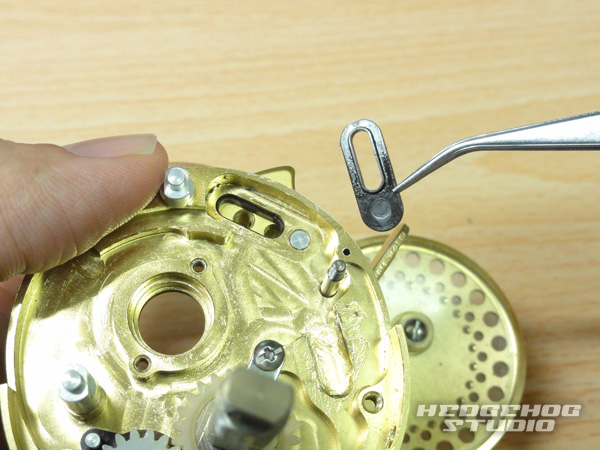
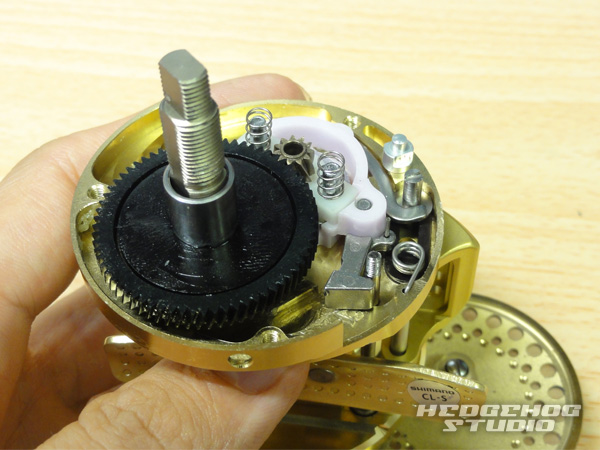
Disassemble the parts of the clutch portion. Remove the two screws of the
position of the photograph.
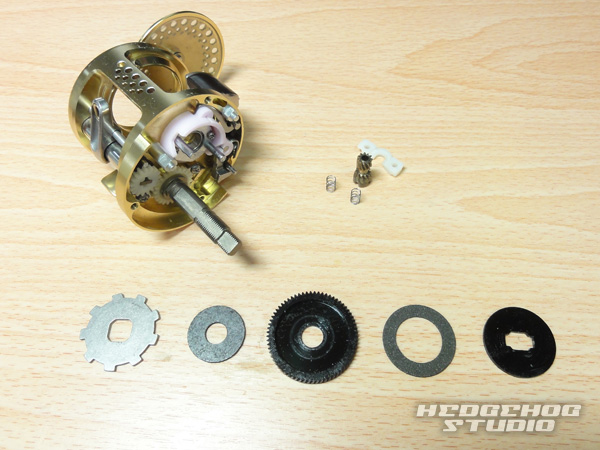
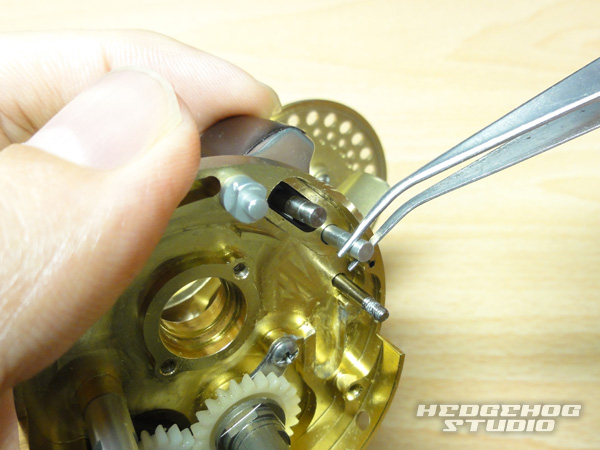
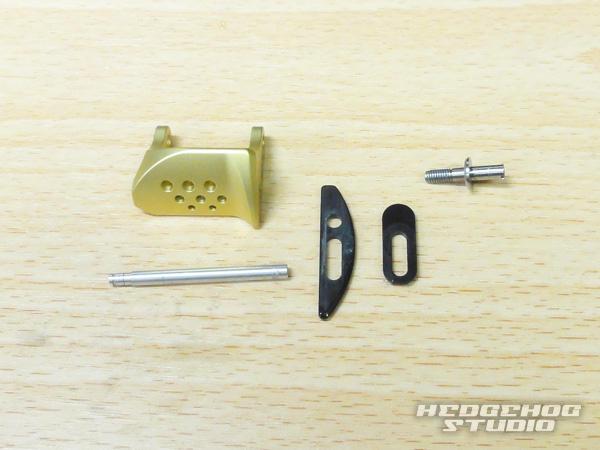
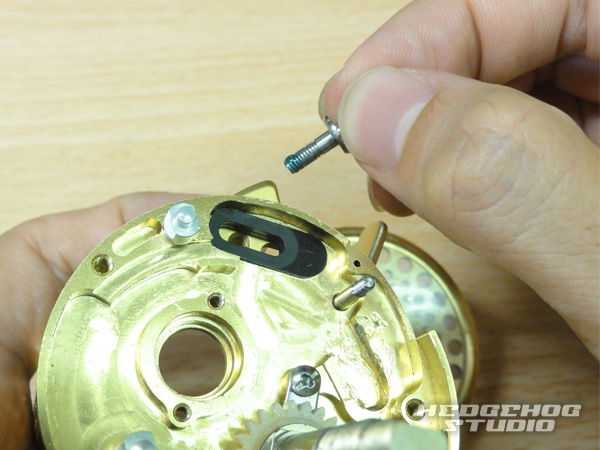
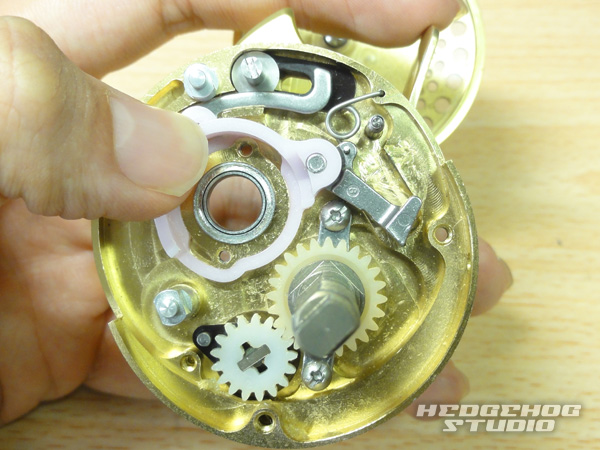
When the decomposition you can take out the parts, such as a photograph.
State after the decomposition.
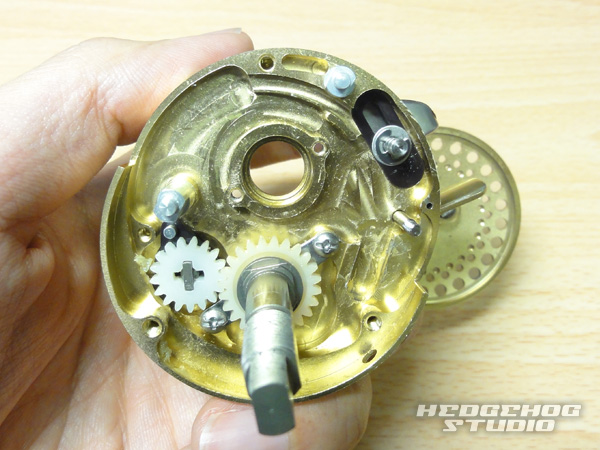
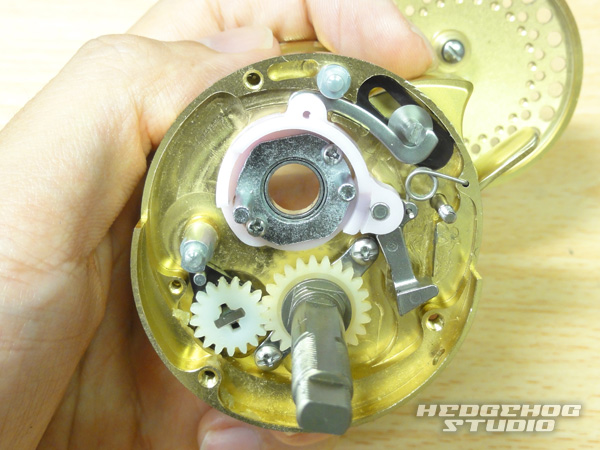
Remove the E-ring that secures the clutch portion.
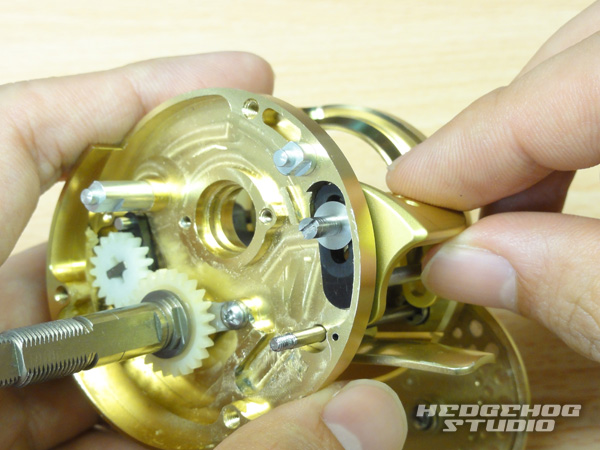
Remove the shaft at the bottom of the plastic cover. You can remove the
clutch body by up to here.

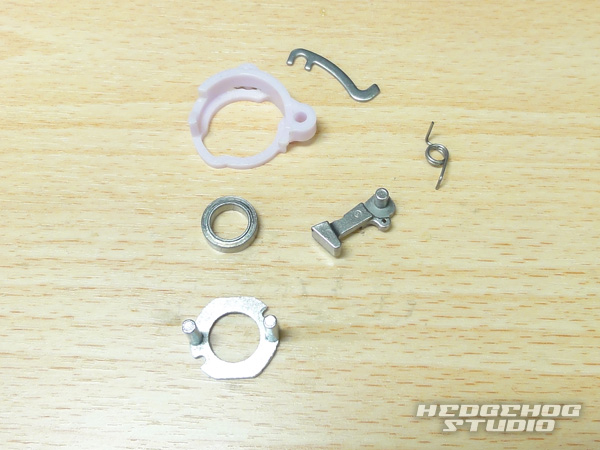
It is part of around genuine clutch.
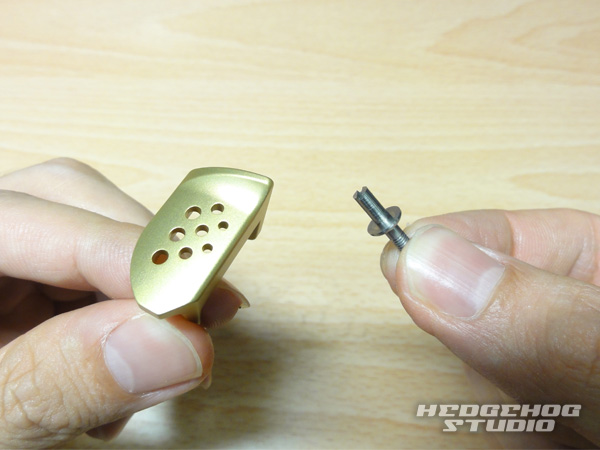
From here, we will attach the offset clutch.
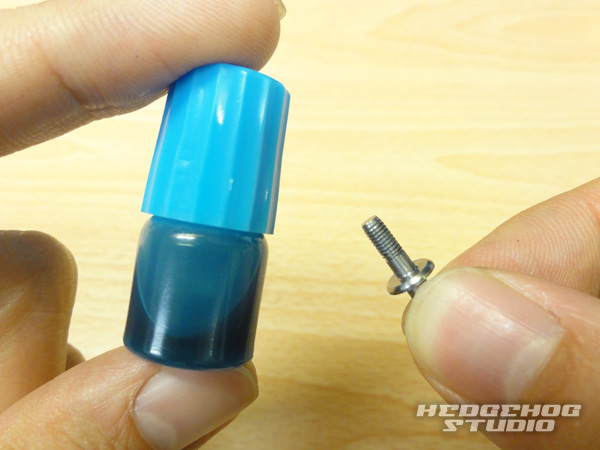
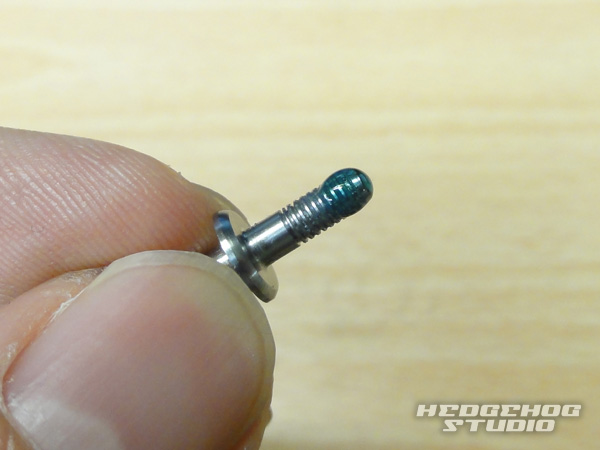
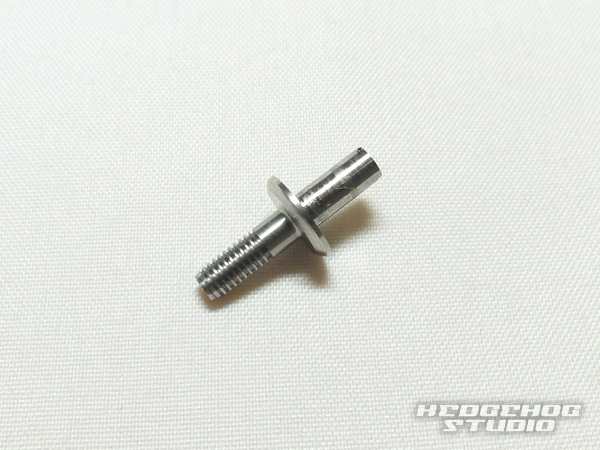
Before you begin the installation, it is recommended to apply a stop loosening of the screw in the threaded portion of the accessory of the shaft. .
Please purchase separately loosening stop of the screw
Pearl required for installation. E ring and washers that secure the genuine
clutch is not used. In addition, the shaft orientation There Pamingu, who
there is a groove in the tip will be the par timing plate side.
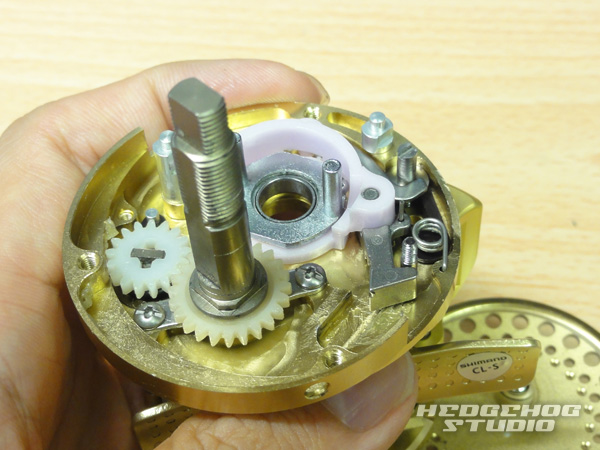
First, install the outside of the plastic cover. If there is a groove will
be inward.
Crispy clutch, and insert the shaft.
After insertion of the shaft, attach the plastic cover. This part also
those where there is a groove will be on the inside.
The supplied shaft and screwed to the clutch.
And please confirm the operation of the clutch. Left and right in without
a backlash, not too free a gap, there is no problem if move up and down
smoothly. Once you have tighten the shaft to the point where the clutch
does not work, it is well to go easy and you'll be adjusted while loosening.
It is attached to the parts around the clutch. First, we attached a picture
of the bearing clutch plate clutch claw clutch pawl spring. In particular
attachment when the clutch pawl spring there is a direction, please refer
to the photograph.
Attach the clutch cam. At this time, the firm reduces the parts that you
do not Ika flying part in the momentum of the spring.
The clutch cam holding plate and secure it with screws. Please confirm
the operation off the once clutch have loaded up here. It is recommended
that you reassembled again as long as the funny movement.
Then attach the parts around the main gear and pinion gear.

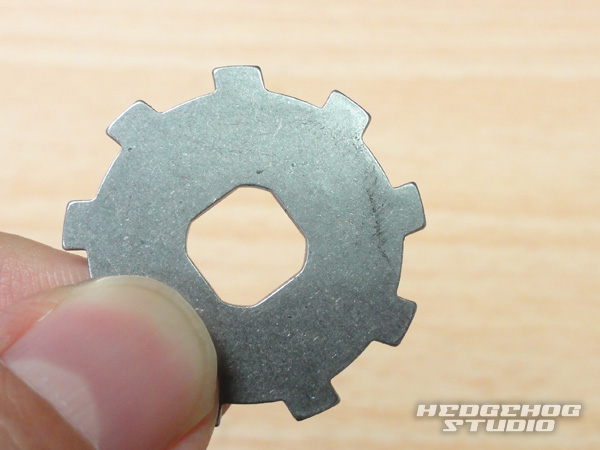
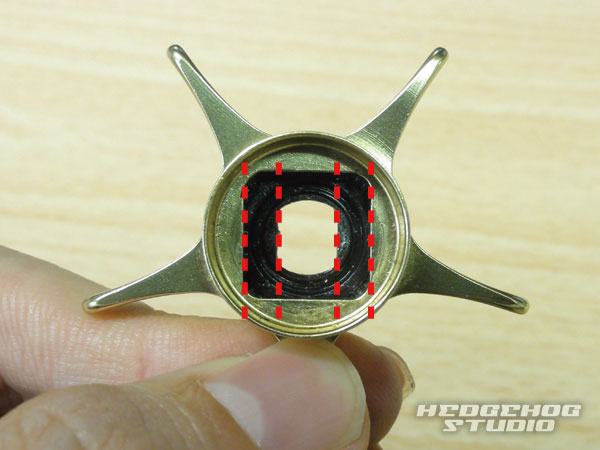
Install the pinion gear stopper gear and washers. It should be noted that
the stopper gear there is a direction. Since the clutch this orientation
is that it is the reverse will not return to the original, please be attached
to the handle knob shaft with a photograph of orientation.
Attach the main gear and the inner tube. Please take care because there
is a groove at the time of mounting the inner tube.

Attach the side cover. In this case, it makes it easier to work after tightening
the par timing shaft screw.
Three of the side cover plate fitted with a screw to secure.
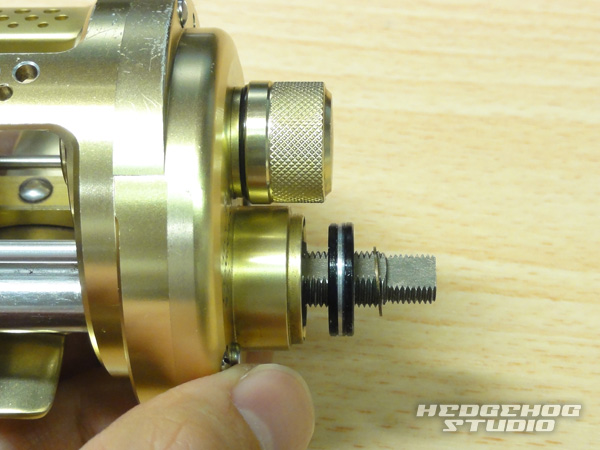
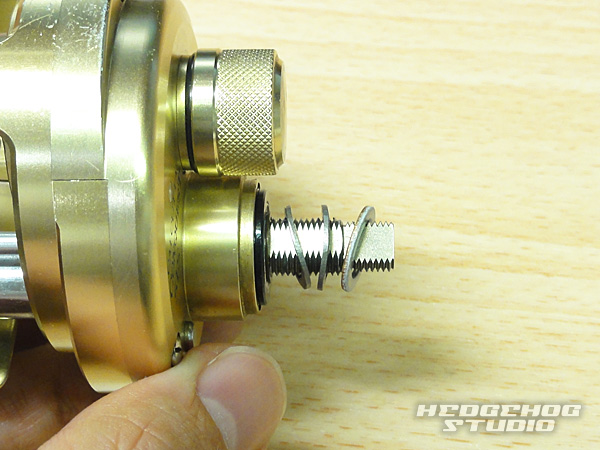
Install the bearing washer class with a photograph of the order.
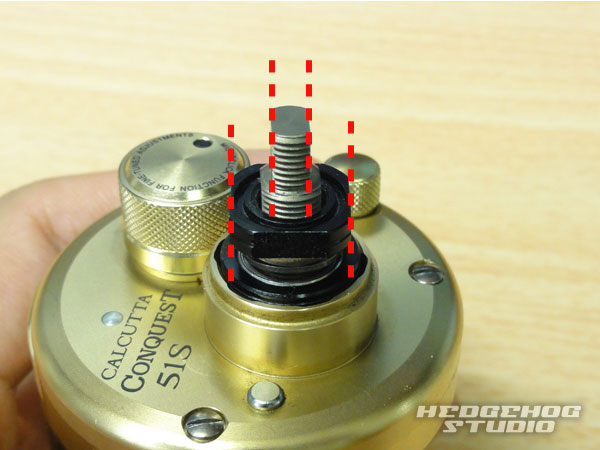
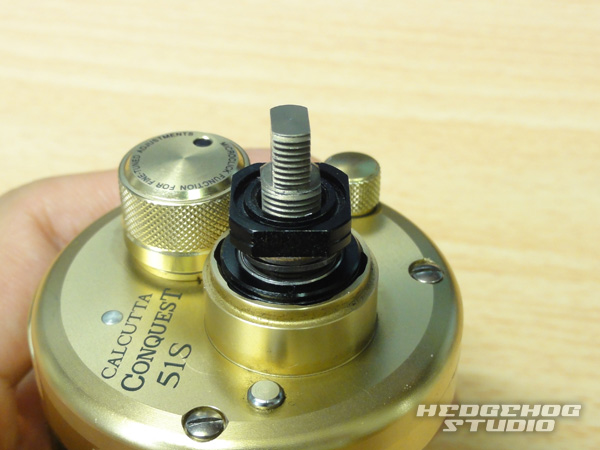
Install the star drag fixing nut. In this case, please pay attention to
the orientation of the parts. Is easy during installation and part of the
photo is made in parallel.

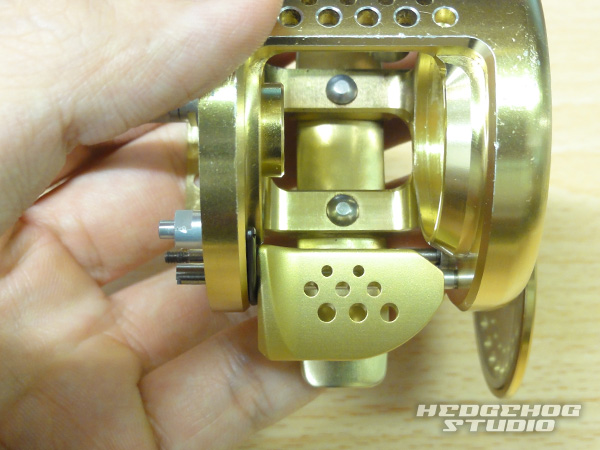
Attach the retainer to secure the handle with bolts. And it is completed
by closing the side cover to return the spool.
■ Gallery