


 Baitcasting Reel


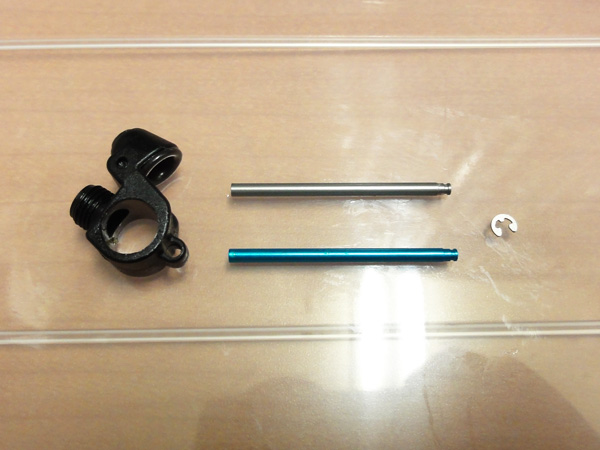
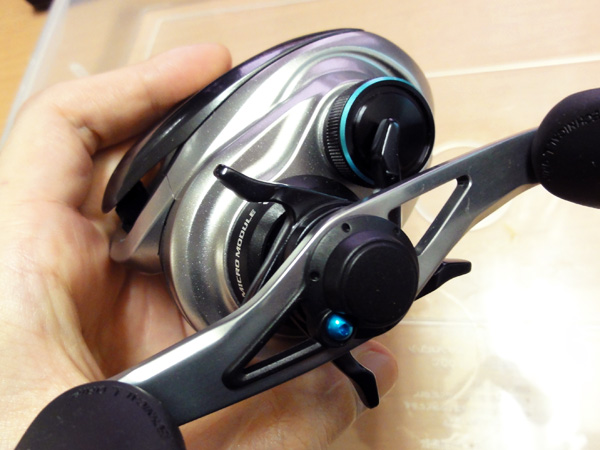
【SHIMANO】 Level Wind Cap 【MT13】 SAPPHIRE BLUE

【SHIMANO】 Level Wind Cap 【MT13】 SAPPHIRE BLUE
Our Selling Price: US$6.47 [Regular Price: US$9.24]
Retail Price: US$8.28
|Description of the product
The item is to dress up the Level Wind Cap.
*Can be used for both left and right handles.
|Compatibility
・ 13 Metanium, 13 Metanium HG, 13 Metanium XG
・ 12 ANTARES, 12 ANTARES HG
|Instructions
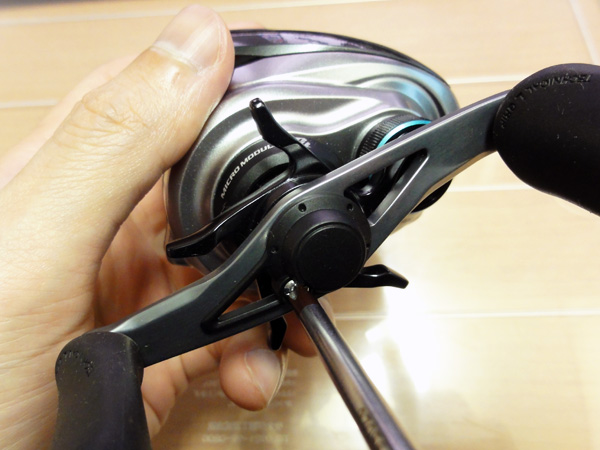
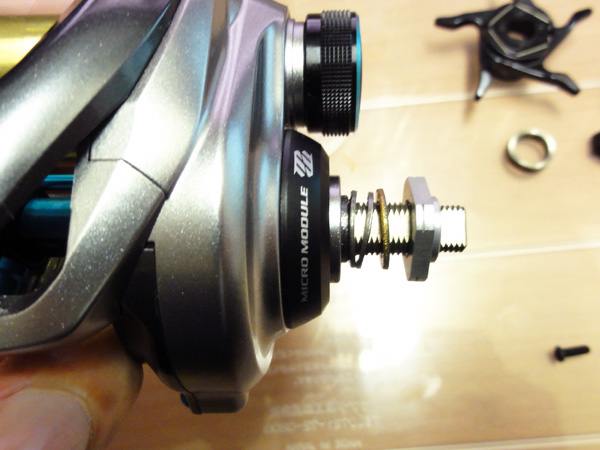
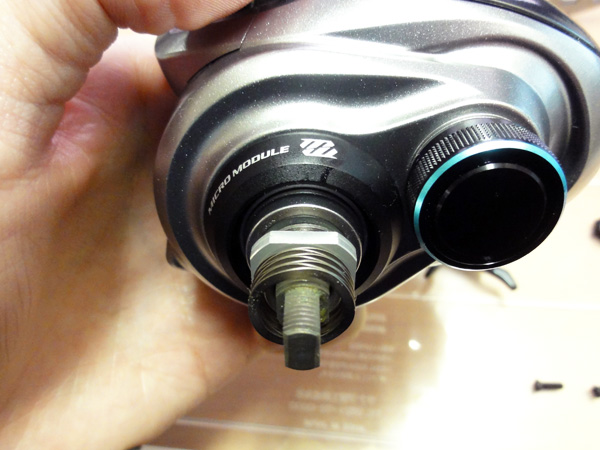
Undo the screw of the handle.
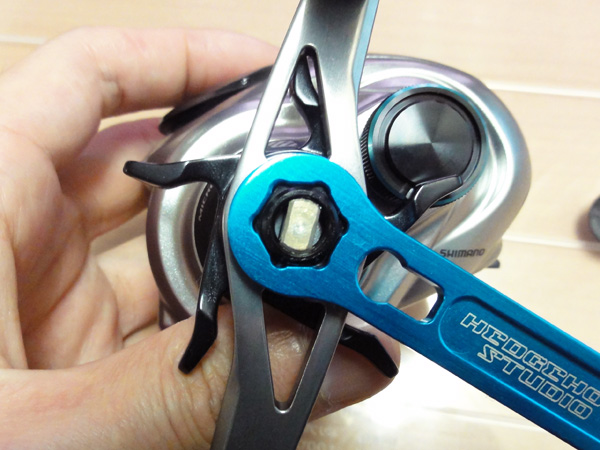
Undo the nut with a wrench.

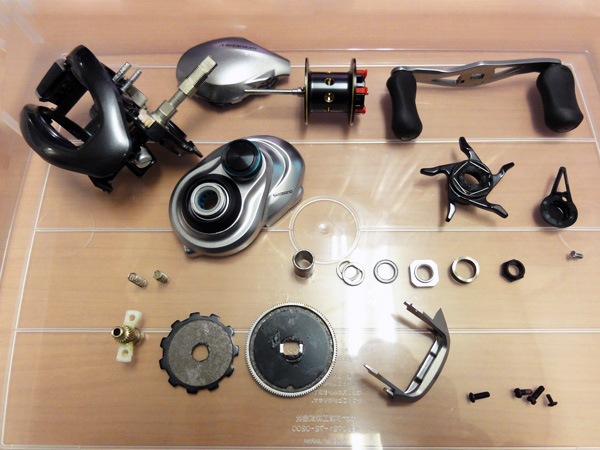
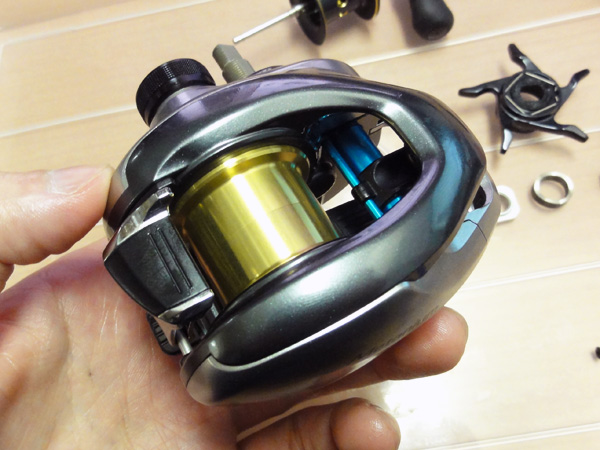
Remove handle, star drag and spool.
Put washers and nuts in the same direction as they were removed. It makes you easy to put them back on later.
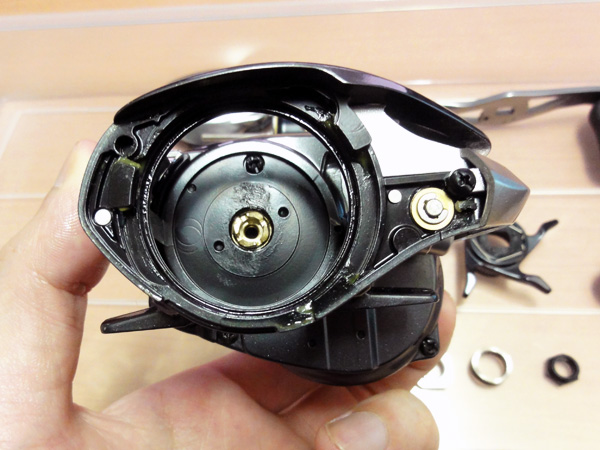
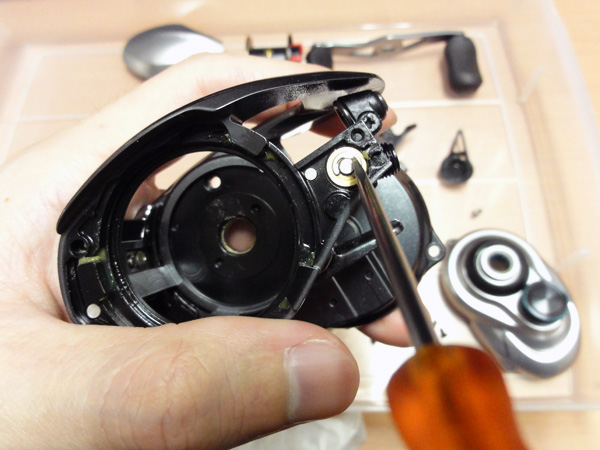
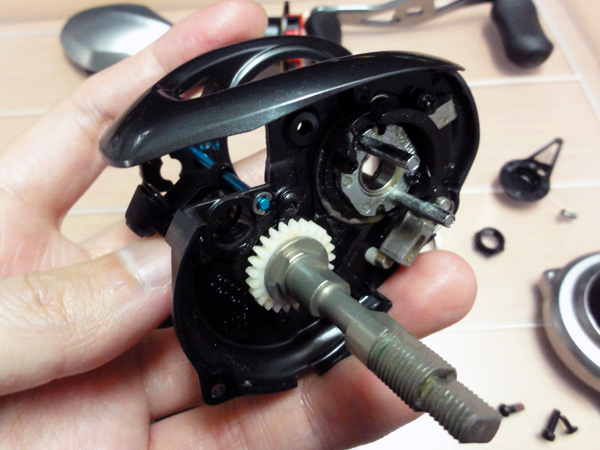
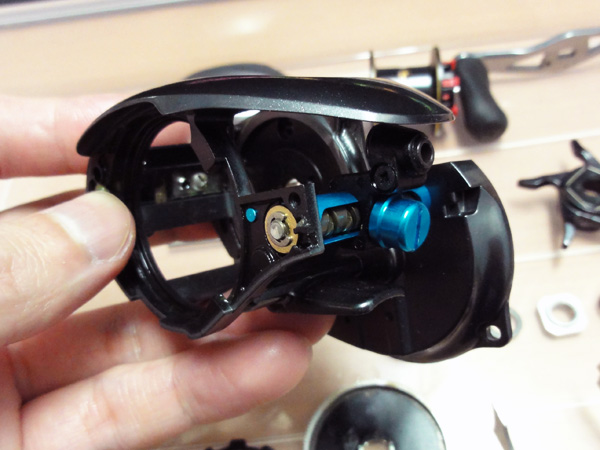
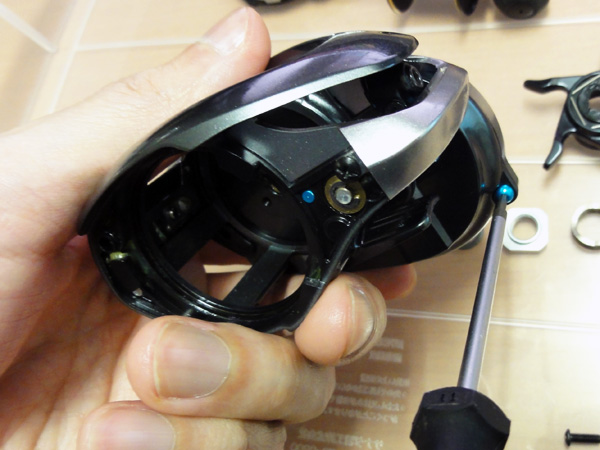
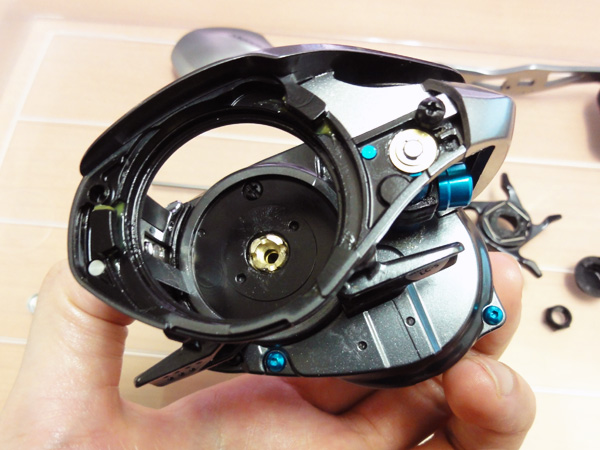
Undo the screws fixing the main unit.
And remove the pinion gear and the drive gear.
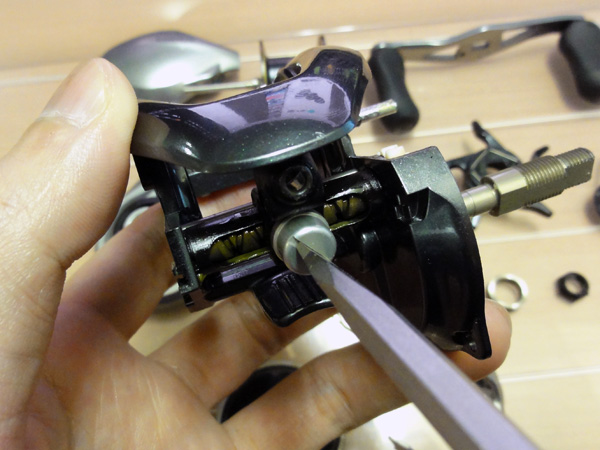
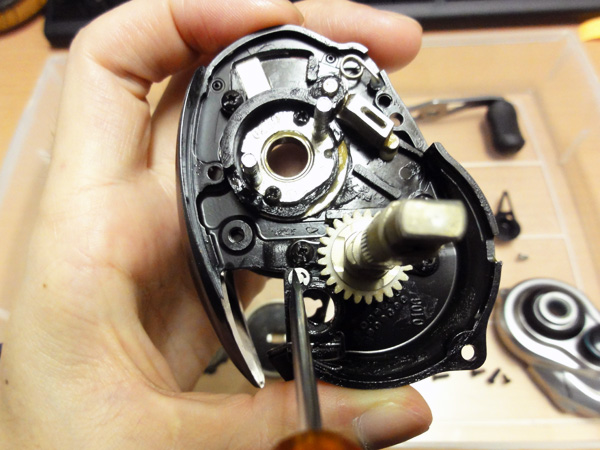
Undo the Level Wind Cap.
A thicker slotted screwdriver is recommended.
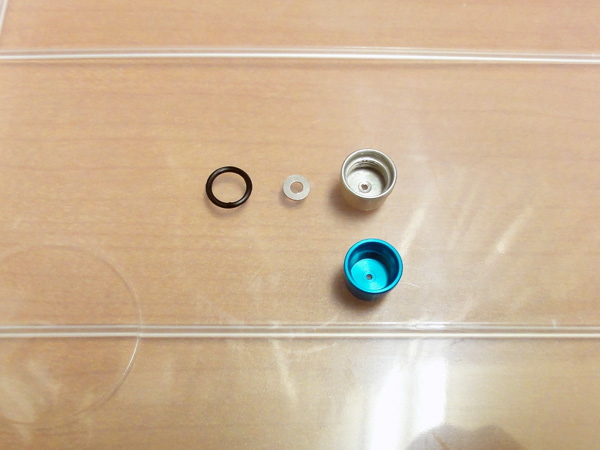
Take out a rubber ring and a washer from the original cap, and keep them. Those genuine parts will be reused later on.
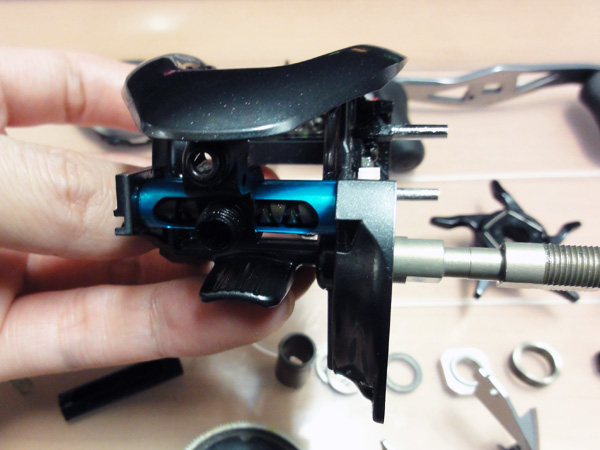
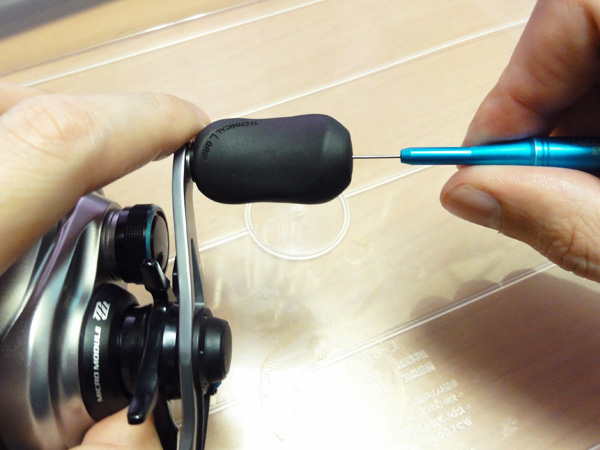
Remove the E-shape retaining ring on the edge of Level Wind Pipe.
A thinner slotted screwdriver is recommended.
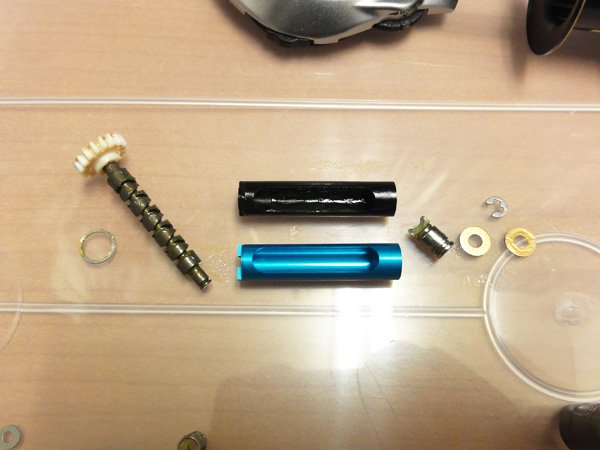
Take apart the Level Wind Pipe.
Remove the E-shape retaining ring on the edge of Level Wind Shaft with a thin slotted screwdriver.
As removing the Level Wind Shaft, Level Wind itself will come off at the same time.
Now, it's time to assemble new parts by a reverse procedure.
Start with Level Wind Shaft.
Then install Level Wind Pipe.
When you install Level Wind Cap, make sure to put the rubber ring and the washer.
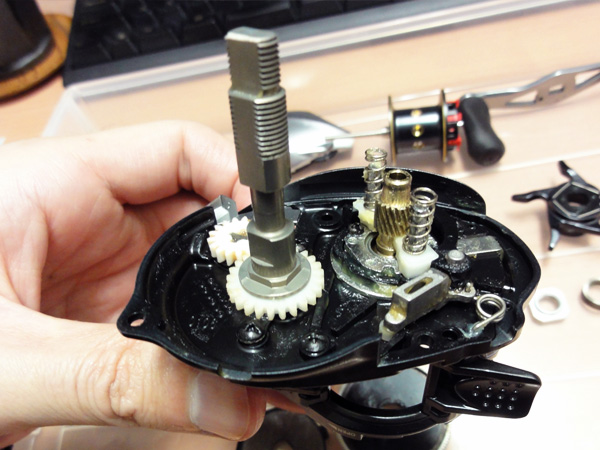
Place the pinion gear on.

Put the drive gear parts in order.
..and the inner tube too.

Put the side cover back, and tighten with screws from the other side.
When replacing with our dulalumin screws, we recommend using "Wera 1.5mm Hex Screwdriver".
You can replace with 2 dulalumin screws fixing the main unit.
Light weight shallow spool is another option.
<Avail Microcast Spool MT1332R>
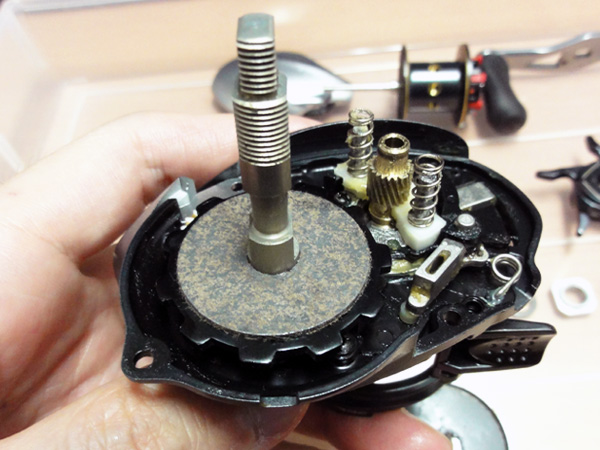
Washers inside a drag are supposed to be set in the right order, just like the picture shows.
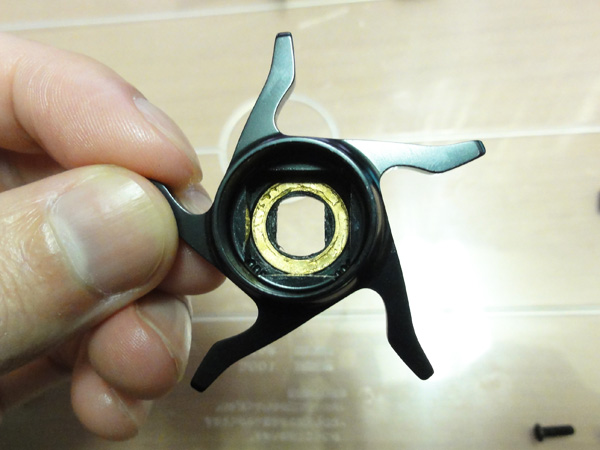
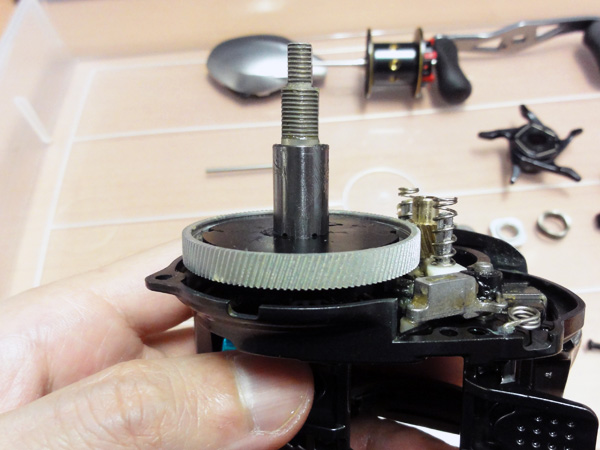
Clicky sound plate should be placed properly.
The both straight lines of the plate hole should be arranged in parallel to the square hole lines of the main unit.
Also the both straight lines of the square nut should be arranged in parallel to the straight lines of the drive gear shaft.
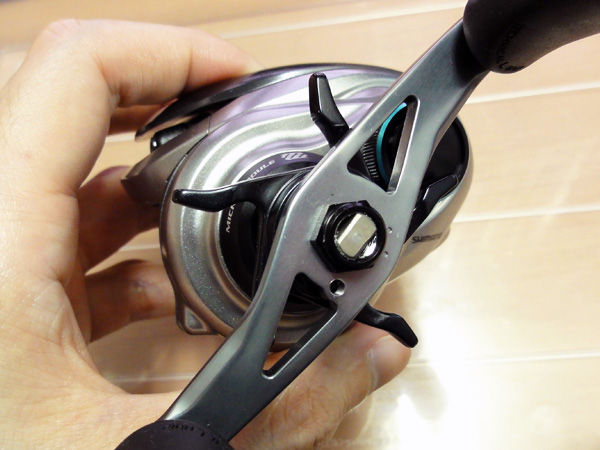
Fit a drag and a handle on the shaft, and fix the handle with a nut.
Attach a retainer on the nut. You can replace the screw with our duralumin screw.
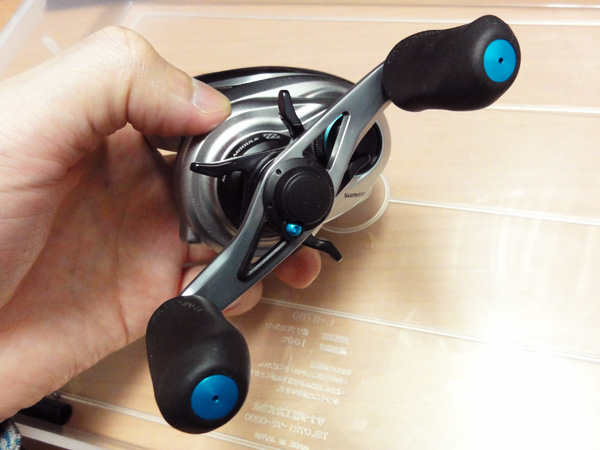
Handle Knob Caps can be replaced with our items if the model is not "XG".
