[SHIMANO] Level Wind Shaft LVSH-22ALD for 22 ALDEBARAN BFS
Our Selling Price: US$6.47 [Regular Price: US$9.24]
Item Description
Description
Level Wind Shafts can be dressed up.
Right handle and left handle are the same.
Color
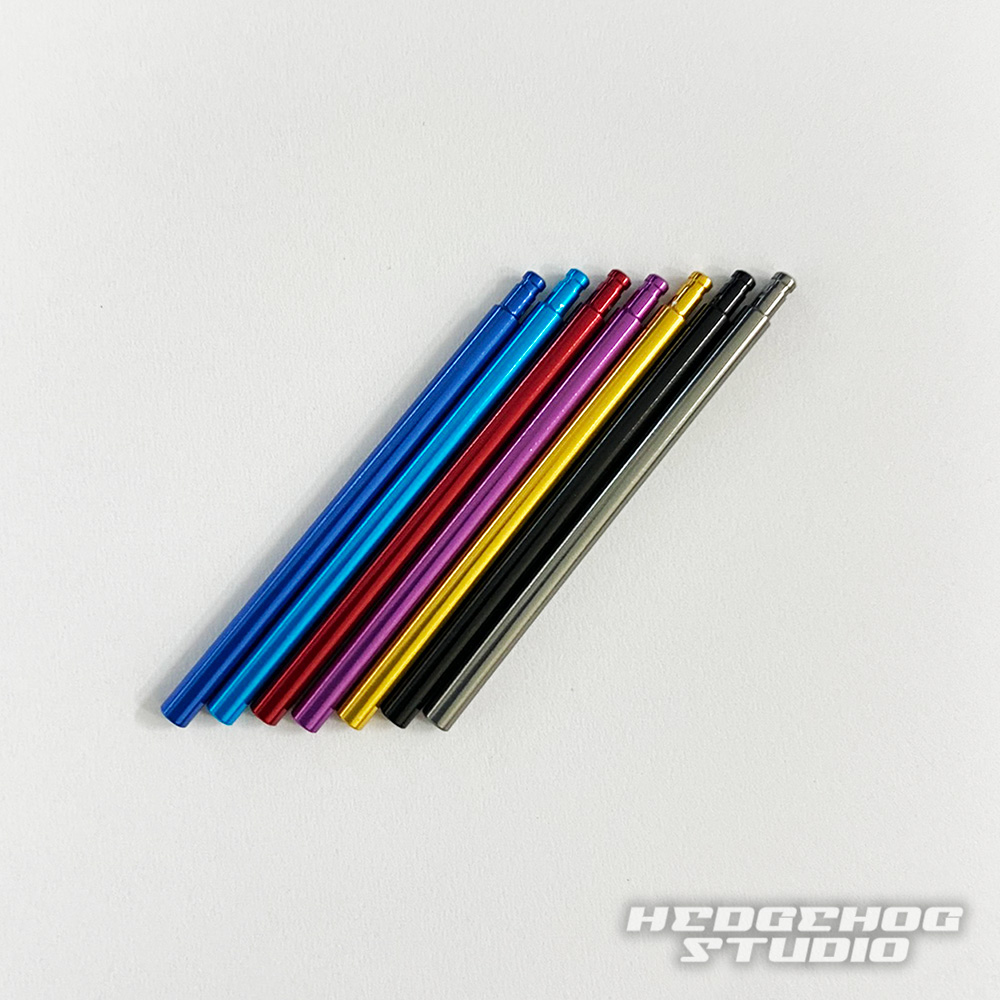
Sapphire Blue, Sapphire Blue, Red, Royal Purple, Champagne Gold, Black, Gunmetal
Compatibility
22 ALDEBARAN BFS
( HG RIGHT, HG LEFT, XG RIGHT, XG LEFT )
How to install
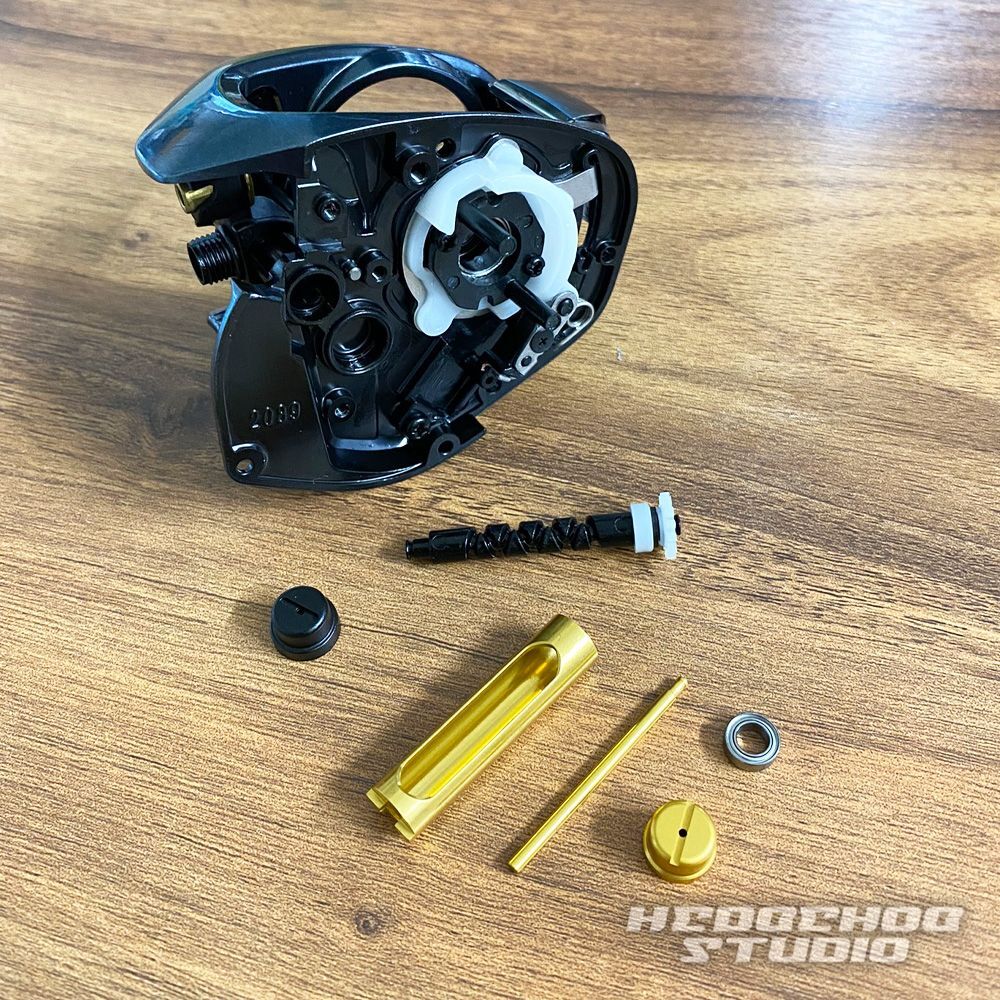
Replacing parts requires disassembling the reel to the condition shown in the photo.
The basic disassembly procedure is similar for all reels, so please refer to the work procedure for 15 ALDEBARAN below.
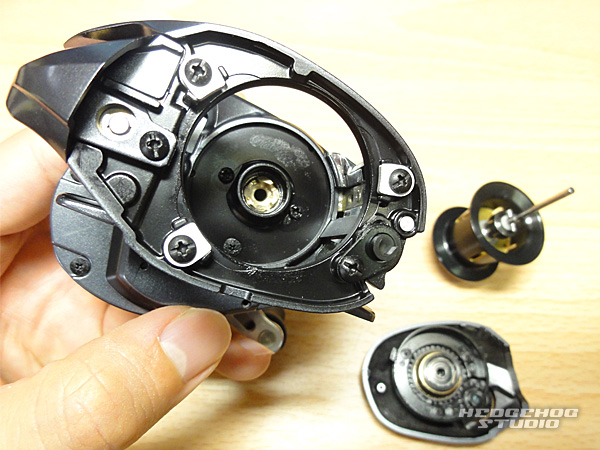
Remove the side cover plate and spool.
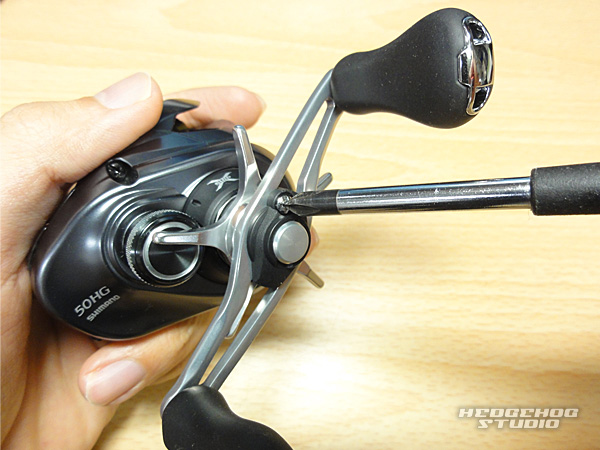
Remove the screw from the handle lock.
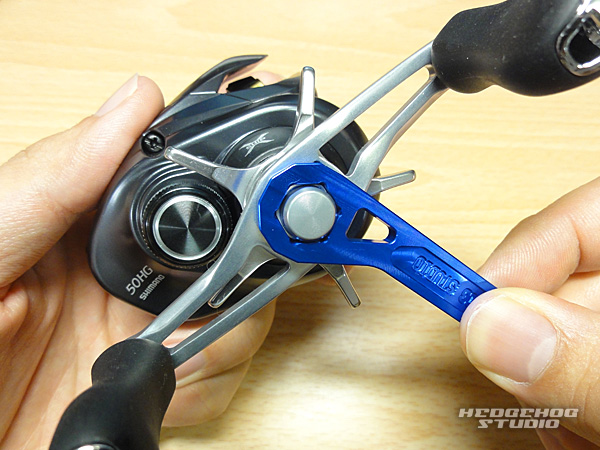
Remove the nut with a wrench.
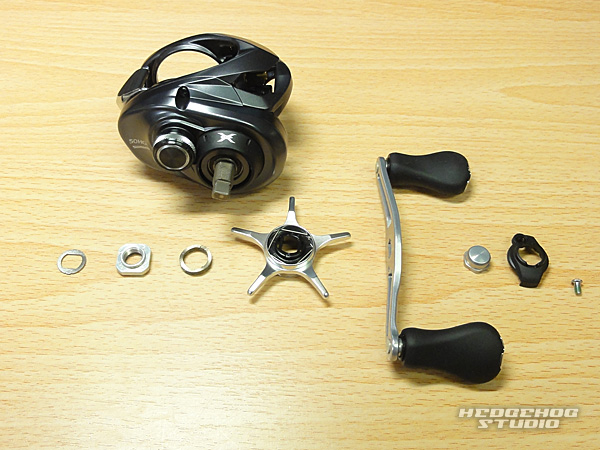
Remove the handle, star drag body, star drag washer, star drag fixing nut, and washers.
It is easier when assembling if washers and nuts are laid out in the same orientation as they were removed.
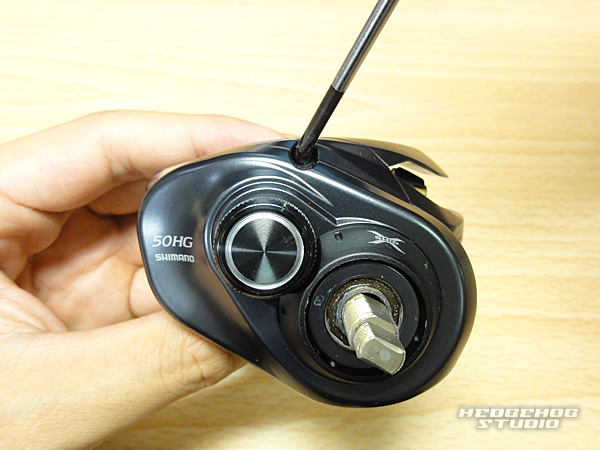
First, remove the screws securing the body on the handle side.
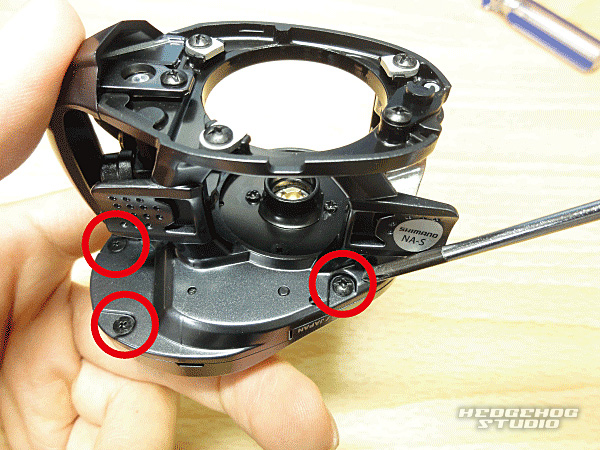
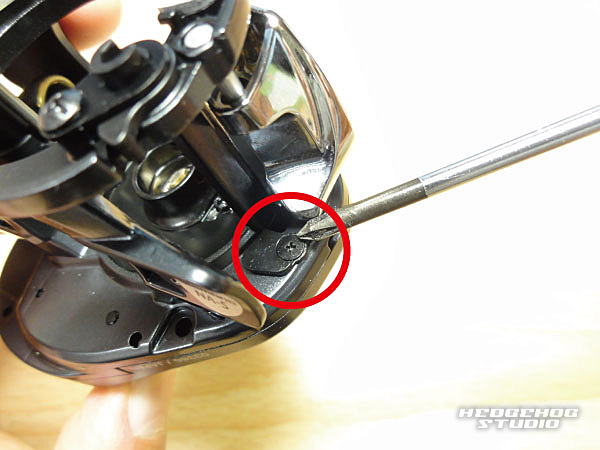
Next, loosen the screws on the back side.
Remove the four screws (circled in red) in the photo to remove the side covers.
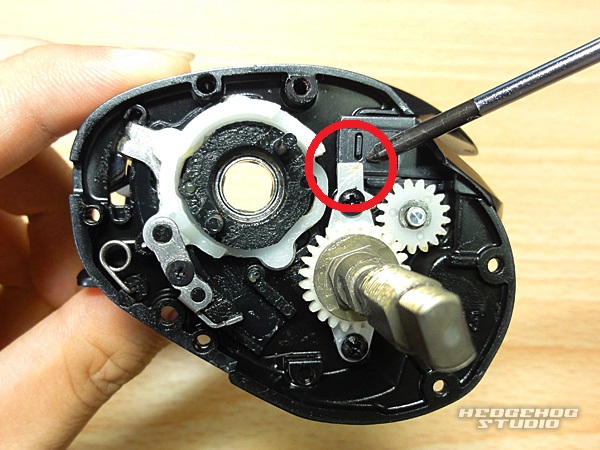
Remove the pinion gear and drive gear.
Then also remove the shaft shaft that is interfering with the front cover parts.
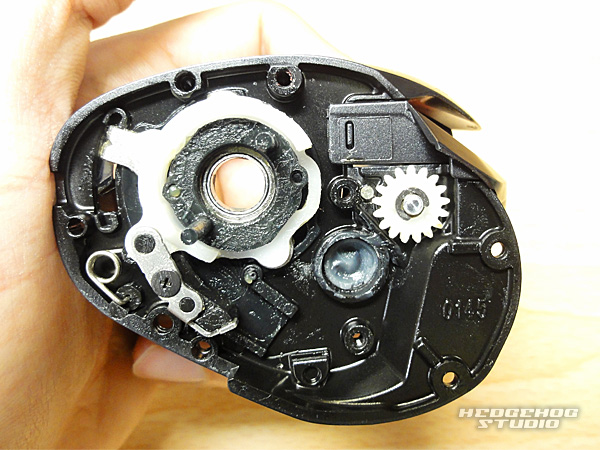
After disassembling to this point, it is now time to look at the other side.
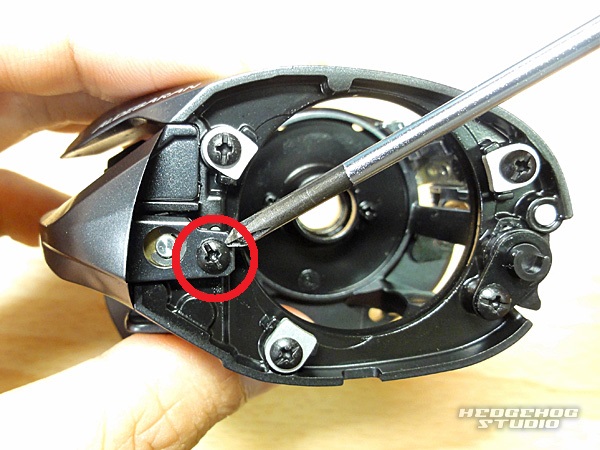
Remove the screws circled in red.
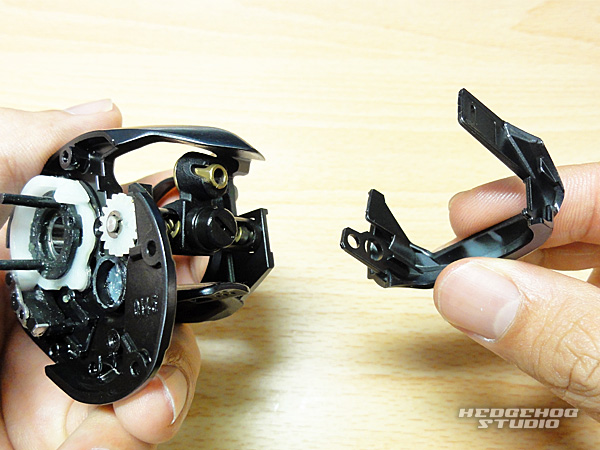
The front cover can then be removed.
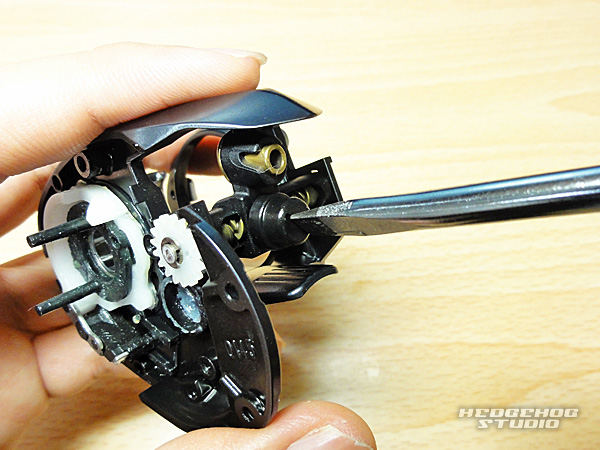
Remove the level-wind cap.
A thicker flat-blade screwdriver is recommended.
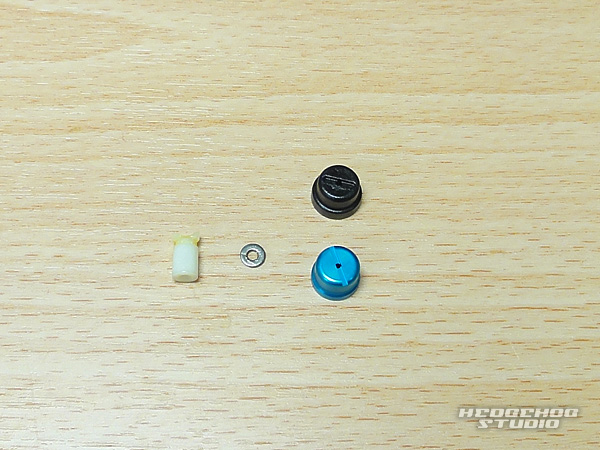
The level-wind cap has a rubber ring and washer, so these genuine parts will be reused.
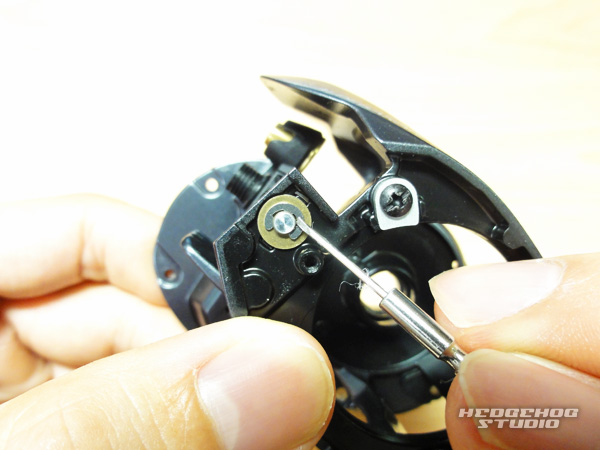
Remove the E-ring from the level wind pipe.
A thin flat-blade screwdriver is recommended.
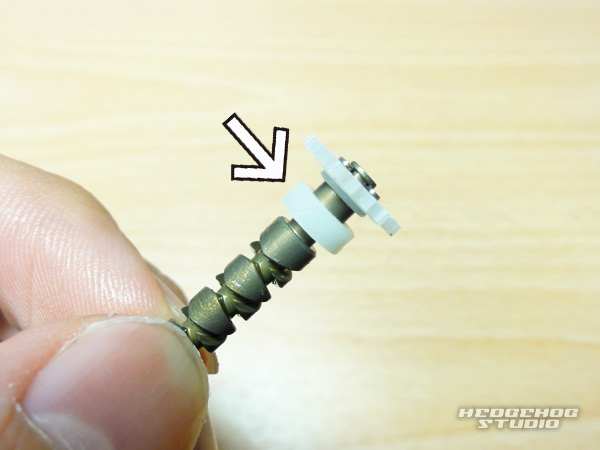
Disassembling around the level windings, there is a collar between the worm shaft and worm shaft gear of the 15ALDEBARAN.
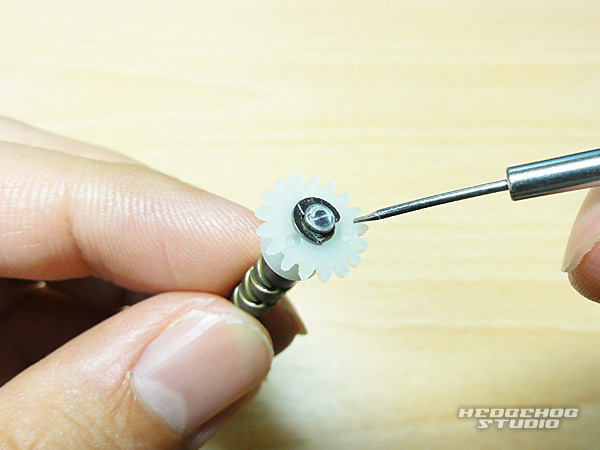
The color can be taken out by removing the E-ring shown in the photo.
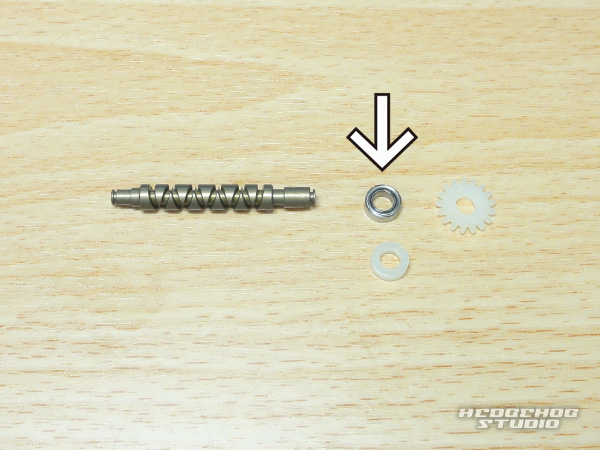
Replacing the arrow parts with bearings will make the winding feel lighter.
* Corresponding Bearing →SHG-740ZZ or HRCB-740ZHi
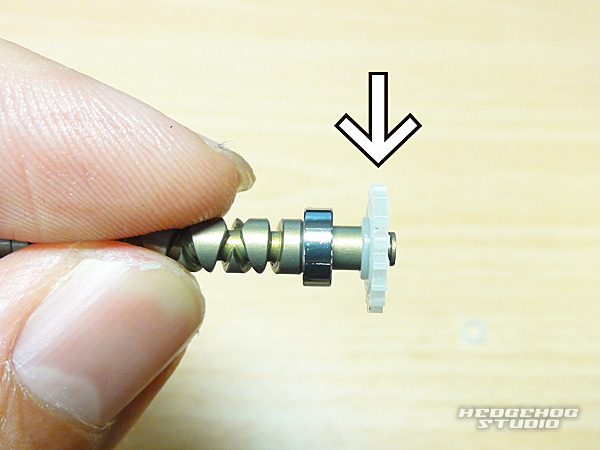
When reassembling, please pay attention to the direction of the gears.
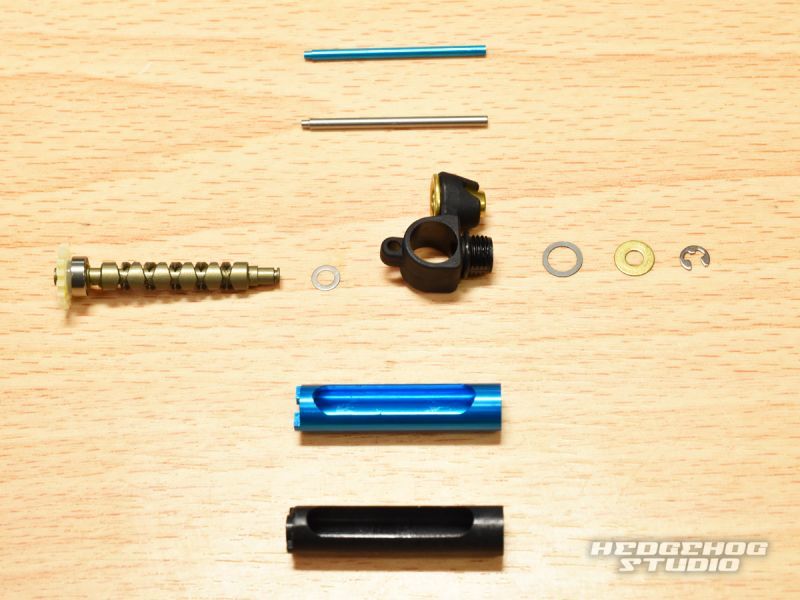
Disassemble the level-wind pipe and replace the genuine parts with anodized aluminum parts.
At this time, do not forget to remove the small washer inside the genuine level-wind pipe.
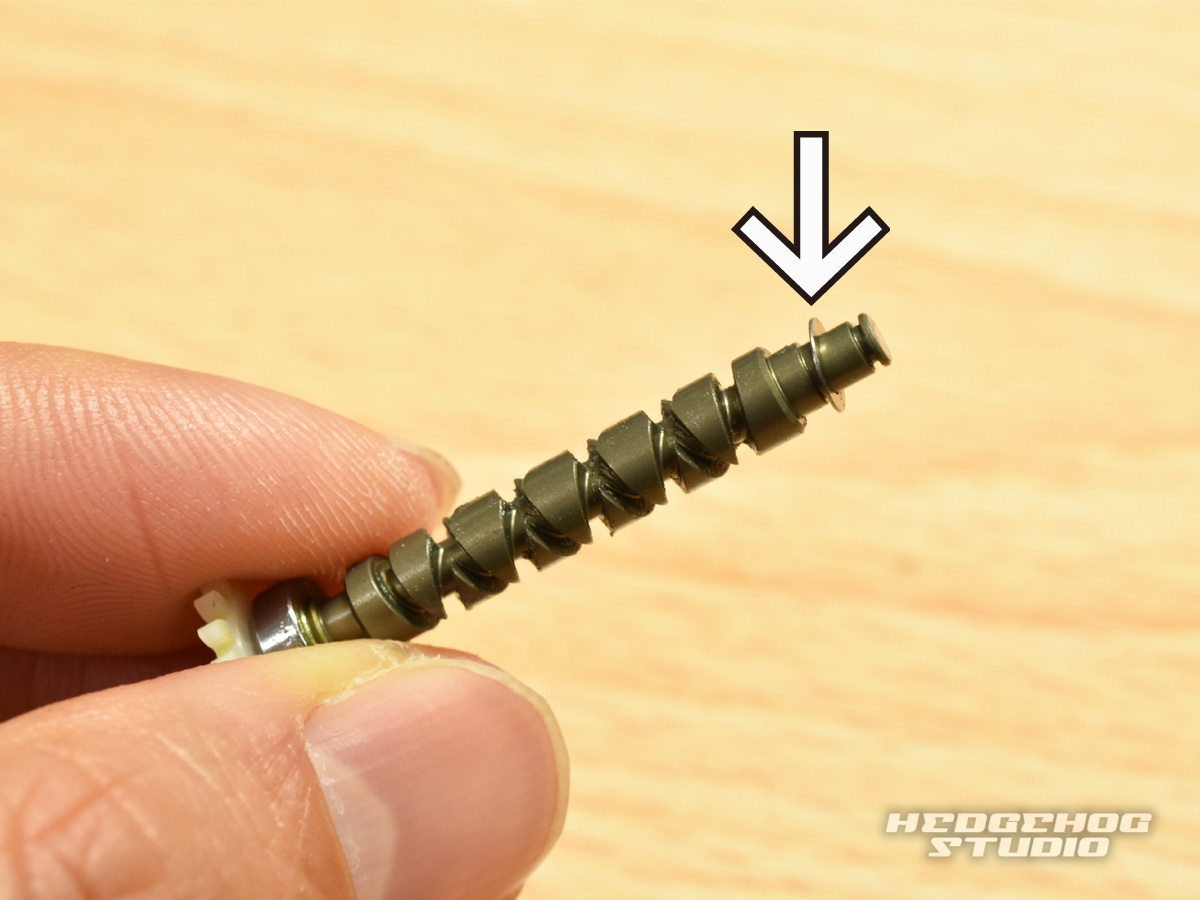
Now, let's assemble it.
First, install the washer that was inside the level-wind pipe on the cross gear.
* Please note that without this washer, the parts will rattle more.
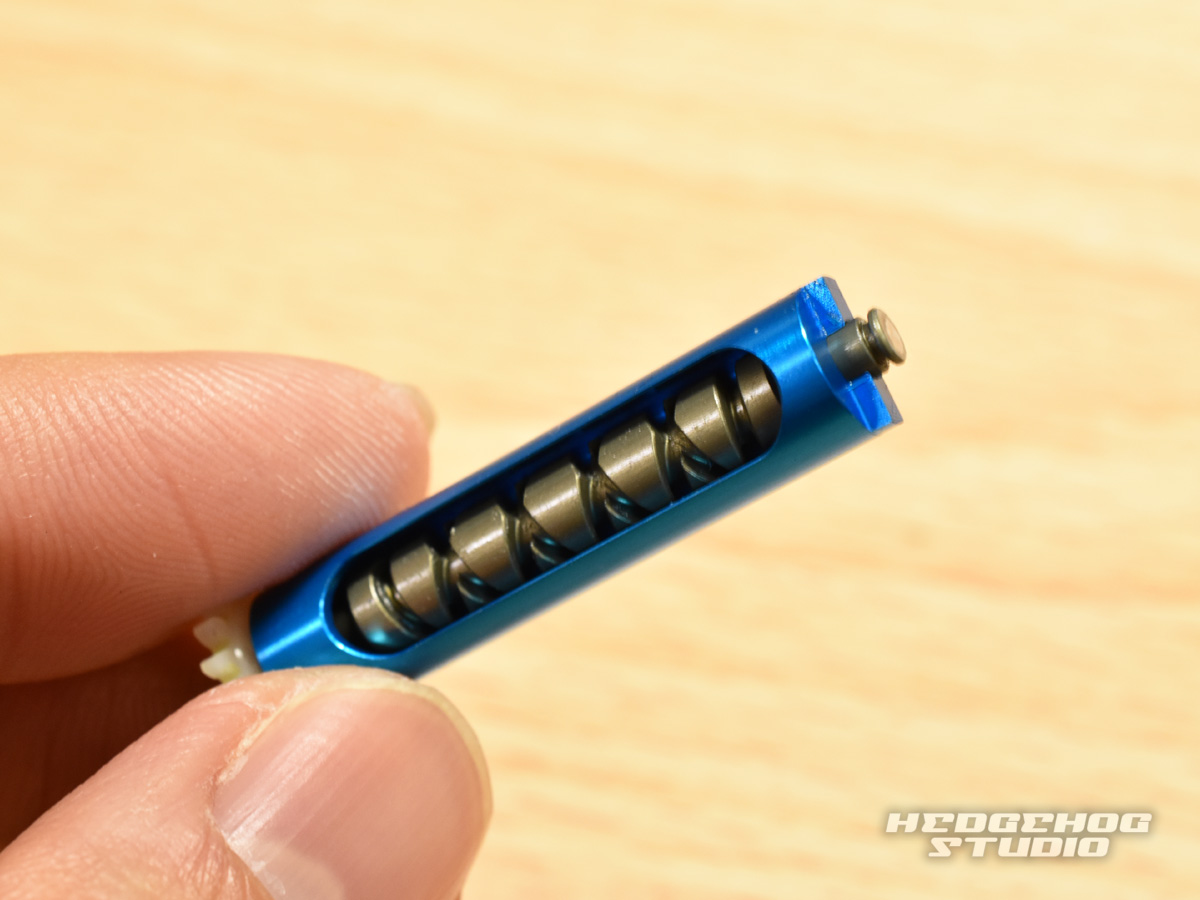
Install the level wind pipe.
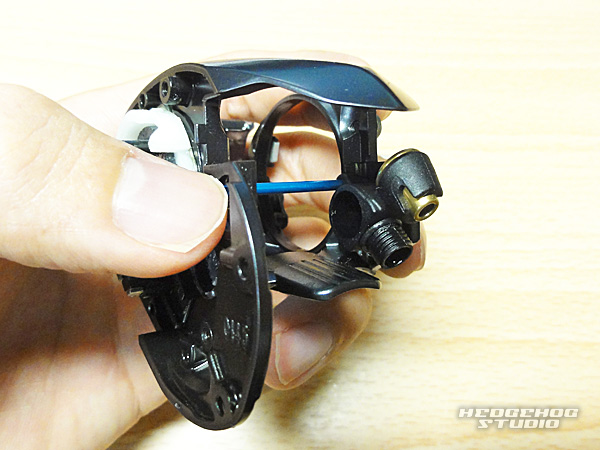
Attach the level wind and level wind shaft to the main body.
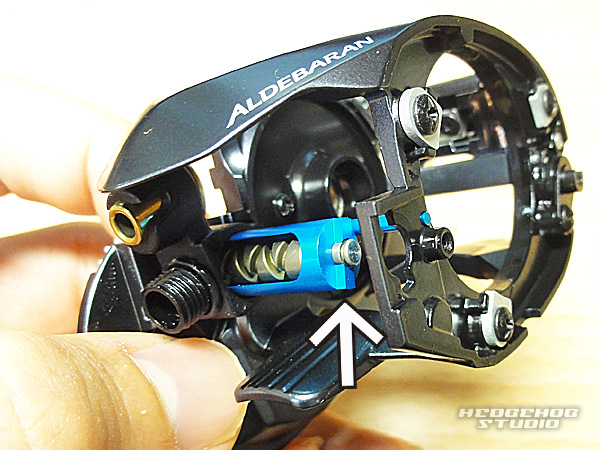
The level-wind pipe will be installed.
This part is uneven as shown in the photo.
Install with the concavity and convexity facing away from the handle side.
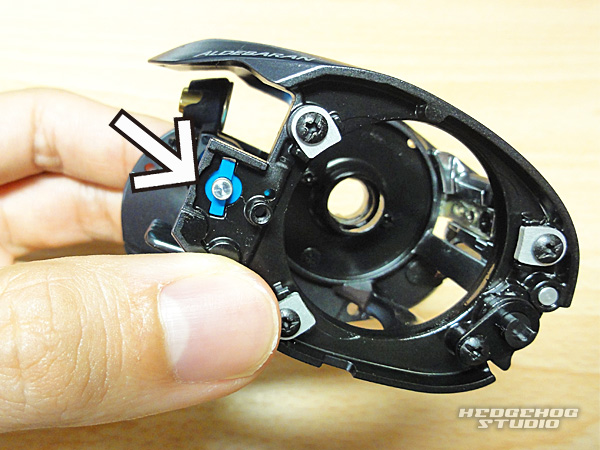
After confirming that the unevenness of the part fits tightly into the hole in the body, install the washer and E-ring.
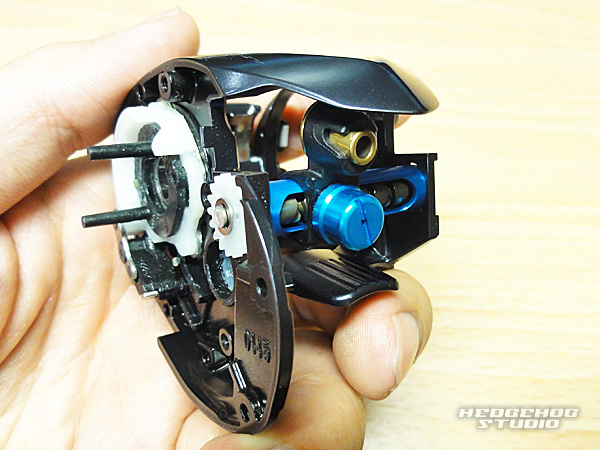
Incorporate rubber ring, worm shaft pin, and washer, and install level-wind cap.
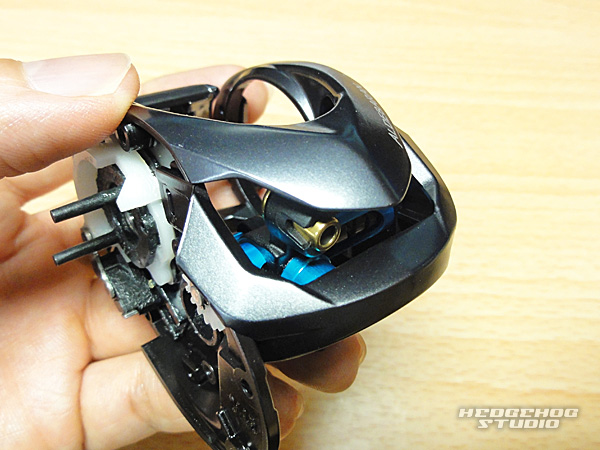
Install the front cover.
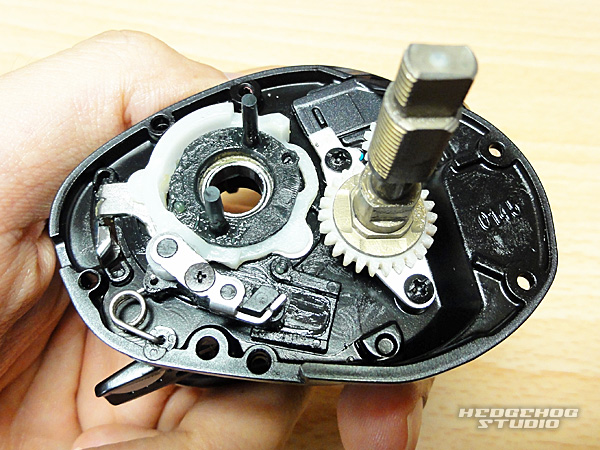
Install the main gear shaft.
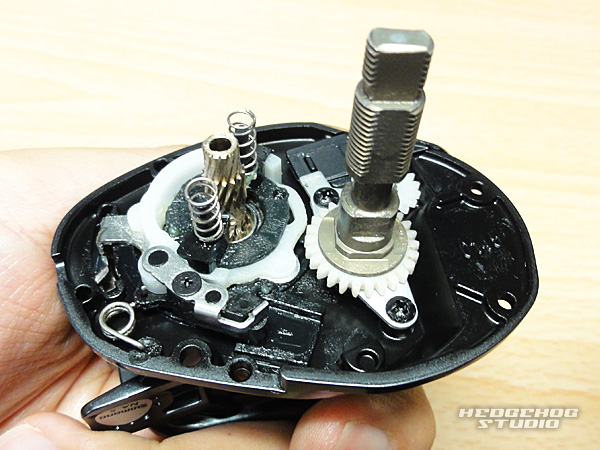
Install the pinion gear.
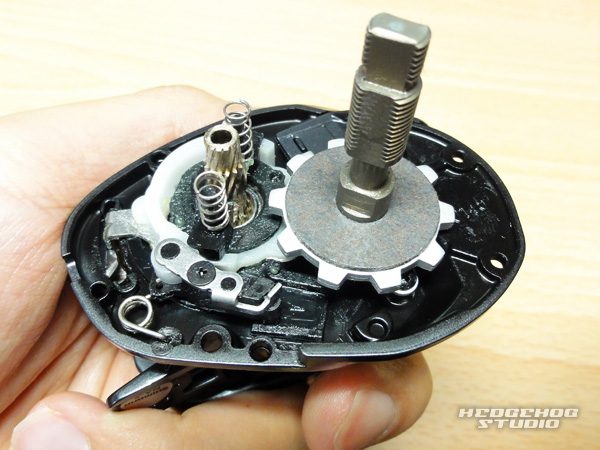
Install the stopper gear and washer.
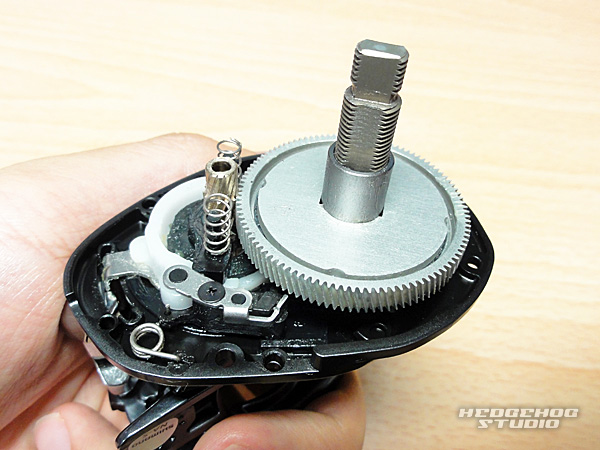
Install the drive gear and inner tube.
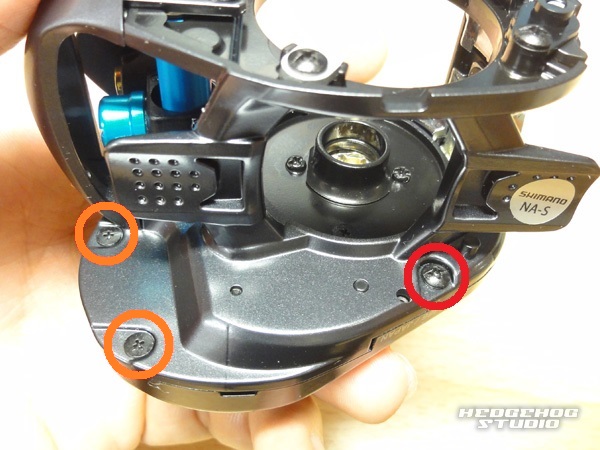
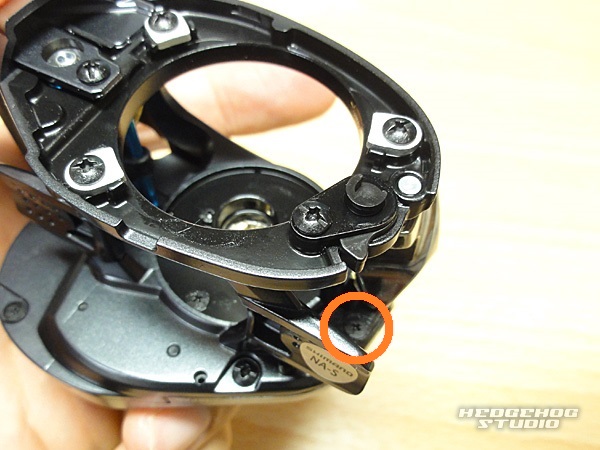
Install the side covers and secure with four screws from the opposite side.
Note that wood screws are inserted in the orange circles.
Please use caution when installing.
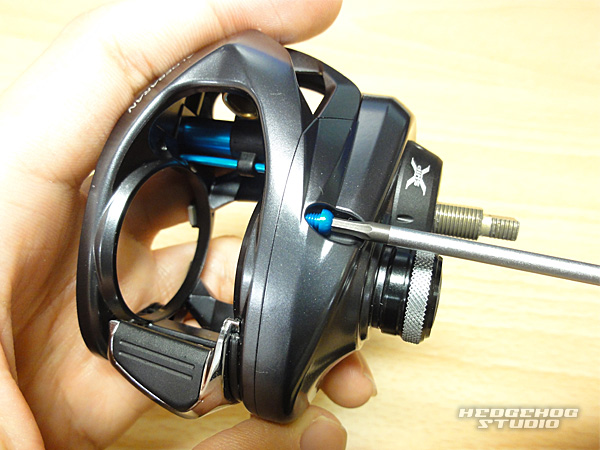
Fix the screws on the handle side.
When replacing duralumin screws, the use of a special screwdriver is recommended.
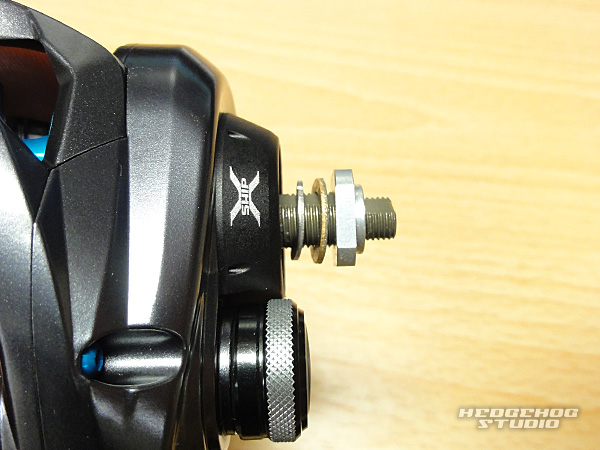
Refer to the photo for the positioning of the washers inside the drag.
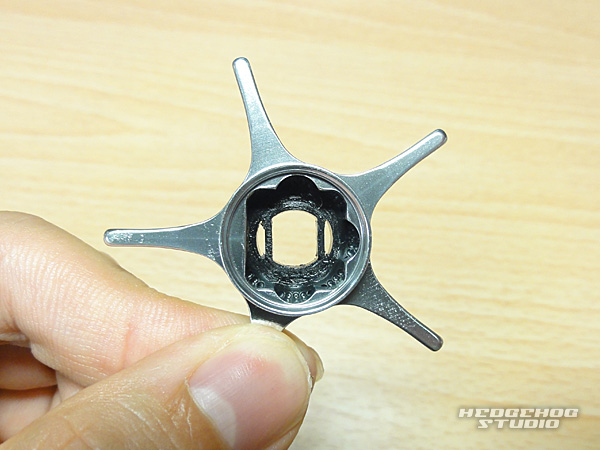
Align the holes in the drag and sounding board so that they are straight and parallel to each other.
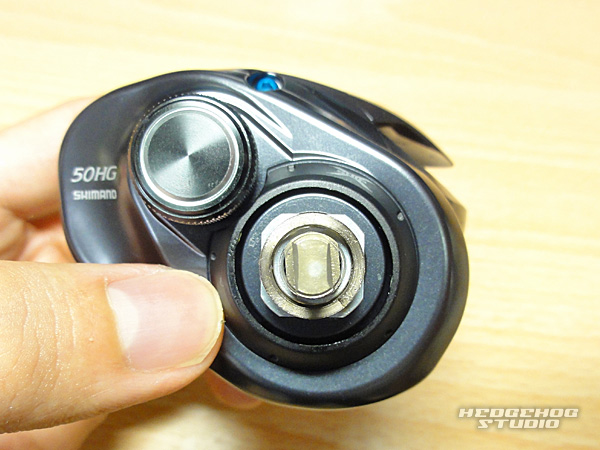
The drive gear shaft and nut should also be aligned straight and parallel.
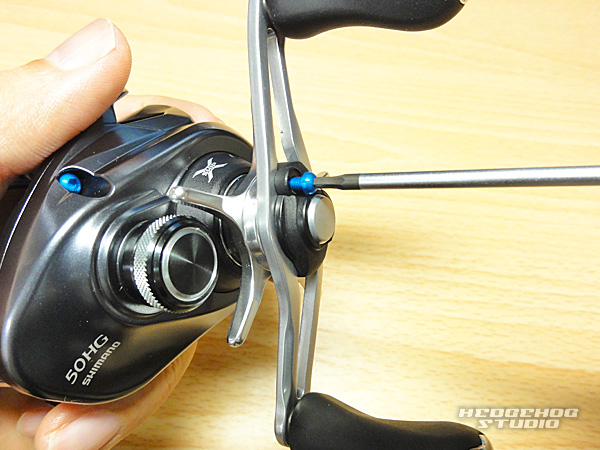
After aligning the holes and installing the drag, install the nuts and retainers.
Screws can be replaced with duralumin screws.
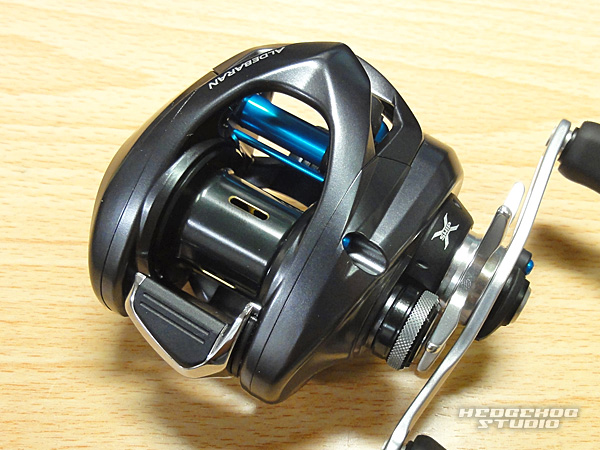
This completes the replacement process.
Supplemental Explanation
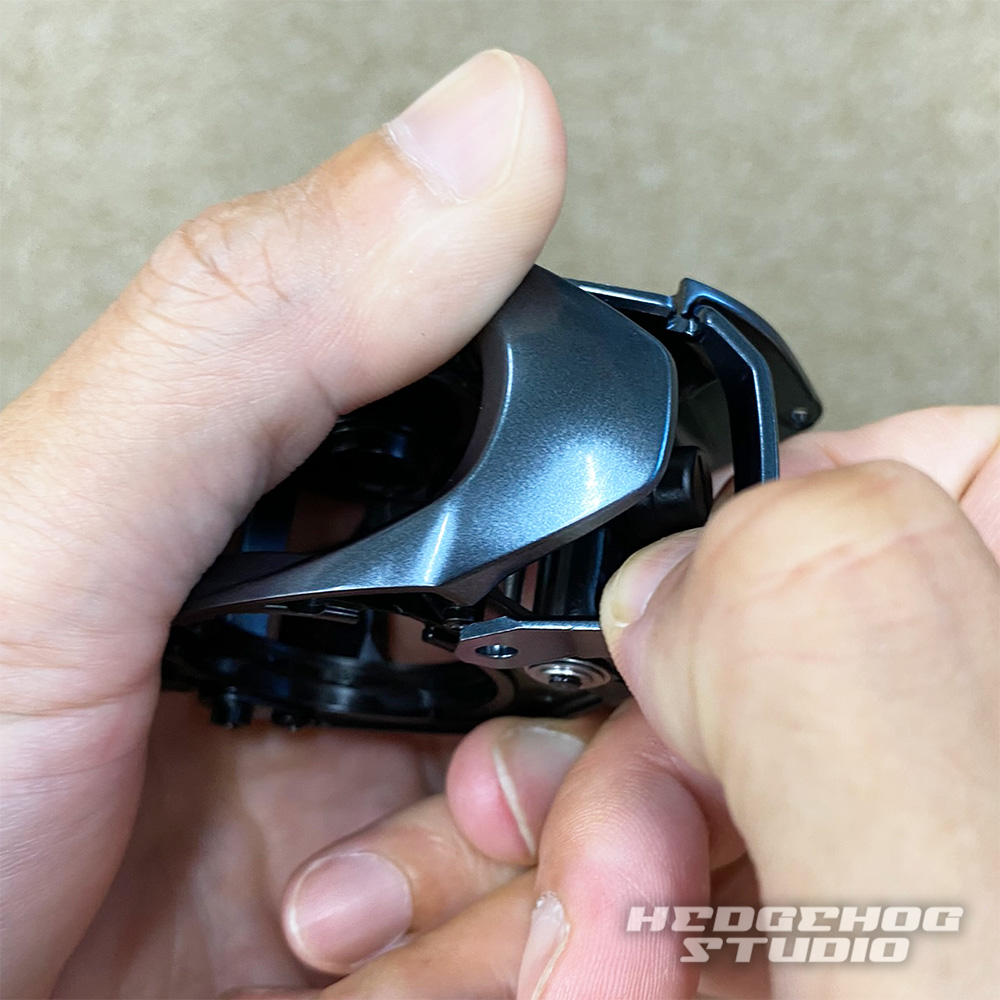
22 ALDEBARAN BFS, but the front cover, called the level wind guard, is difficult to remove at first.
It can be removed by pulling on the opposite side of the handle to lift it off, being careful not to damage the parts.
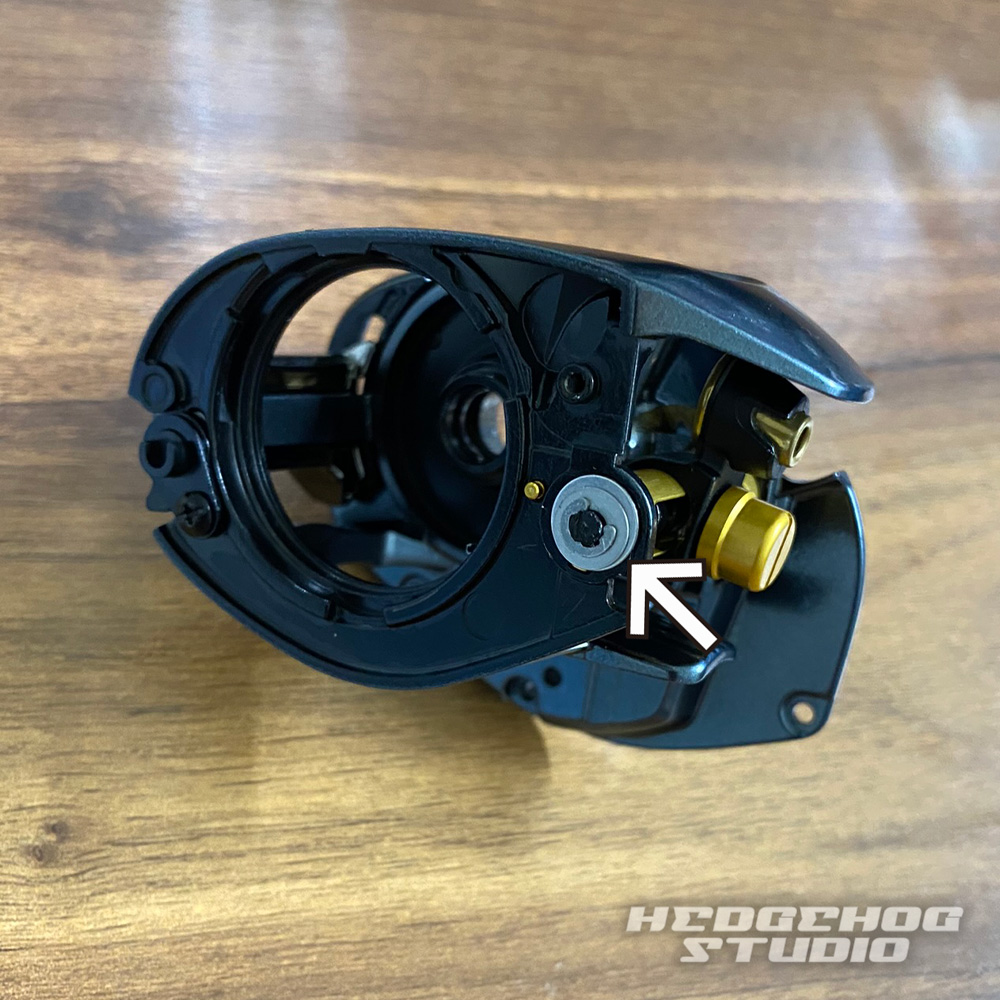
Depending on the individual reel, the rotation of the worm shaft gear may feel sluggish when the level wind pipe is installed.
If this is the case, try removing the middle washer out of the three washers that are under the E ring in the arrow section.
Smooth rotation.
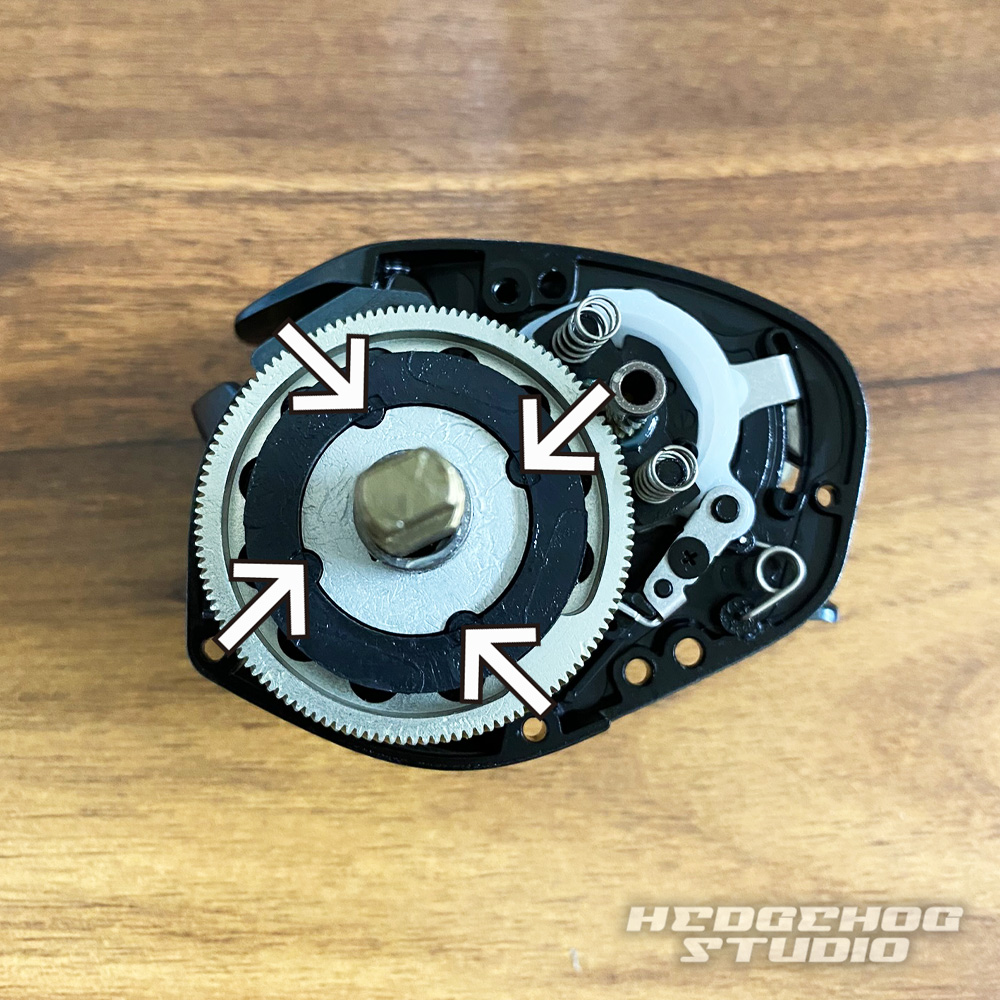
In the case of a drive gear structure like the one in the photo, make sure that the arrowed part is firmly aligned and engaged all the way to the back.
The side covers cannot be tightened with the plate in a floating position.

![Photo1: [SHIMANO] Level Wind Shaft LVSH-22ALD for 22 ALDEBARAN BFS (1)](https://www.hedgehog-studio.co.jp/phone/data/hedgehog-studio/_/70726f647563742f32303232303830365f3634643162642e6a706700363030000074006669745f686569676874.jpg)
